
Over the past few months, I have refined my post-processing workflow. Watching and reading tutorials has really improved my workflow. Here are the most valuable things I have learned.
- Set a goal for the final look
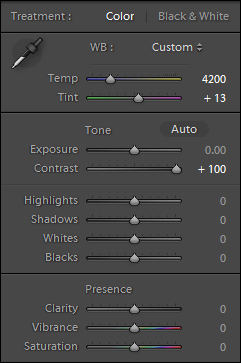
- Increase contrast to remove vignette
- Increase vibrance/saturation to adjust white balance
- Increase exposure when clone stamping
- Take breaks
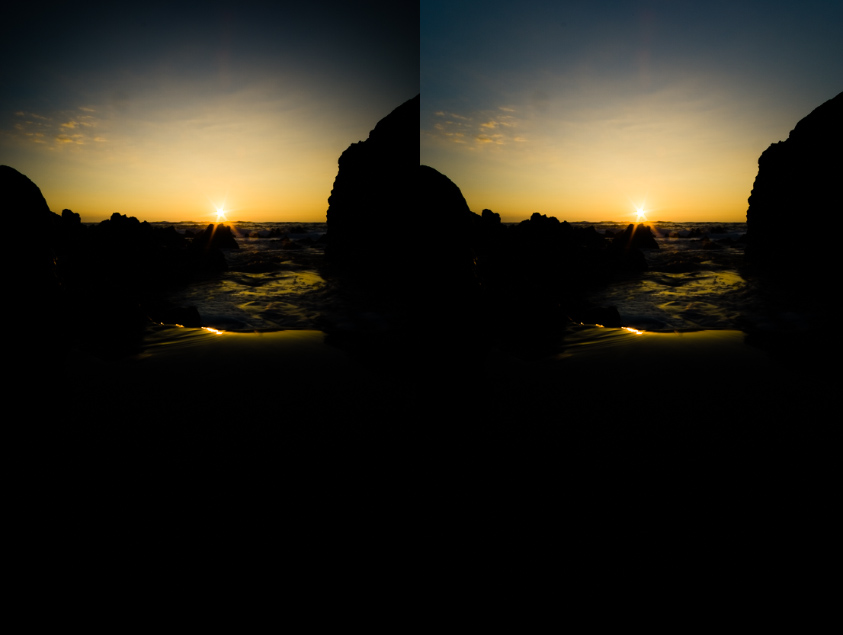
- Look at the original photo often
- Take a good look the next day
Visualize what the final edit will look like. Jumping into the photo editing without knowing what you want it to look like may not yield the best results. When you imagine the final image, you will know what kind of adjustments you will need to make.
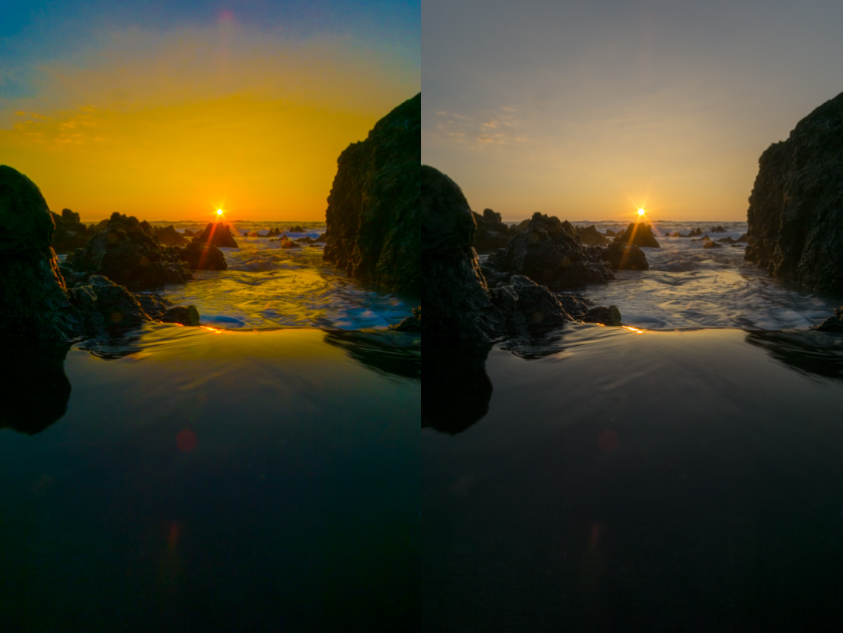
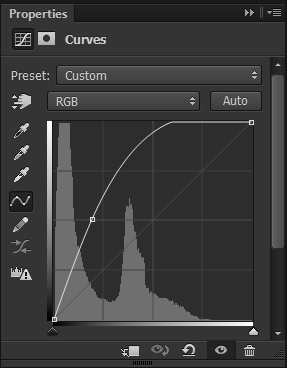
A good way to precisely remove vignette is to increase the contrast of the photo. In Camera RAW or Lightroom, you can increase the contrast slider and apply a heavy contrast curve to the image. Now you can adjust the amount and midpoint accurately and reset the contrast when you are done.

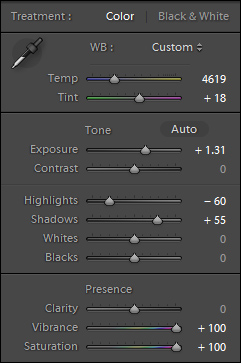
To accurately change the white balance, you can increase the vibrance and saturation sliders. Small changes to the temp and tint will be noticeable.
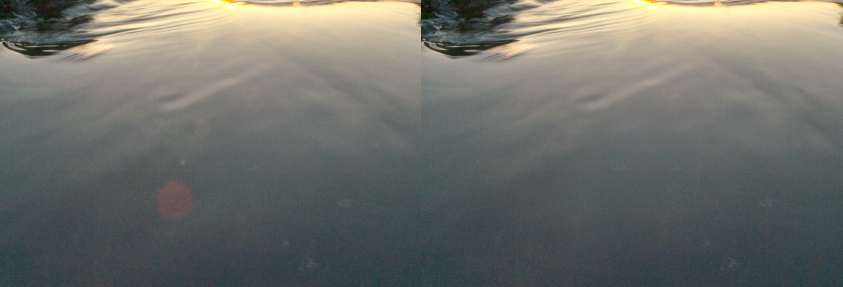
When clone stamping, it is good to create a curves adjustment to increase the exposure of the photo. This will allow you to clone more precisely and will especially help in dark areas of the photo. I have cloned parts of a photo before and it looked nice on the screen. When looking at the same image on a different screen, the clone stamping was obvious. The curves adjustment reveals details in the photo that you would have not seen otherwise.
Take a few short breaks if you are editing photos for hours on end. This helps relax your eyes and clears your mind. When I take breaks my eyes readjust and allow me to see details I may have missed before.
There has been time that I thought my edited photo looked good, but really it was not very good compared to the original photo. As you edit a photo, your eyes readjust to make the edited photo look normal. In your head, it may look normal, but really the photo looks far from normal compared to the original. Opening the original image from time to time will allow you to check your progress and compare the original image versus the edited image.
Check your photo the next day to see if you still like it. Sometimes the next day, I can see that the color in my photo is way off or the edit just looks bad. I make sure that I am happy with my photo before I upload it to the internet. Sometimes the photo needs a simple color adjustment or sometimes I need to reprocess it.