After watching DIY Perk’s video, I was inspired to make my own DIY LED light panel. I wanted to make a traditional LED panel instead of the flexible design in the video. I decided that acrylic sheet would be the easiest material to work with. I also chose one LED color temperature making the wiring a bit different. It cost me around $60 to build the LED panel. I already had all the tools to make it, so that kept the cost down.
This isn’t a tutorial. I am a beginner when it comes to soldering and wiring, so I don’t want anyone making my mistakes. I would recommend you watch the video linked above and do your own researching if you want to build your own. If I build another one, I will most likely make a tutorial.
Tools I used:
Wire stripper and cutter
Table saw
Heat gun
Soldering iron
Drill
Drill Press
Table vise
Caulking gun
Meter ruler
Scissors
Recommended items:
24″ x 24″ Acrylic Sheet (I picked blue because it was the cheapest!)
2 Rolls of Pure White LED Strips (I bought different ones from Amazon that were much cheaper and it has a green color cast)
Zip Ties (You may already have some lying around)
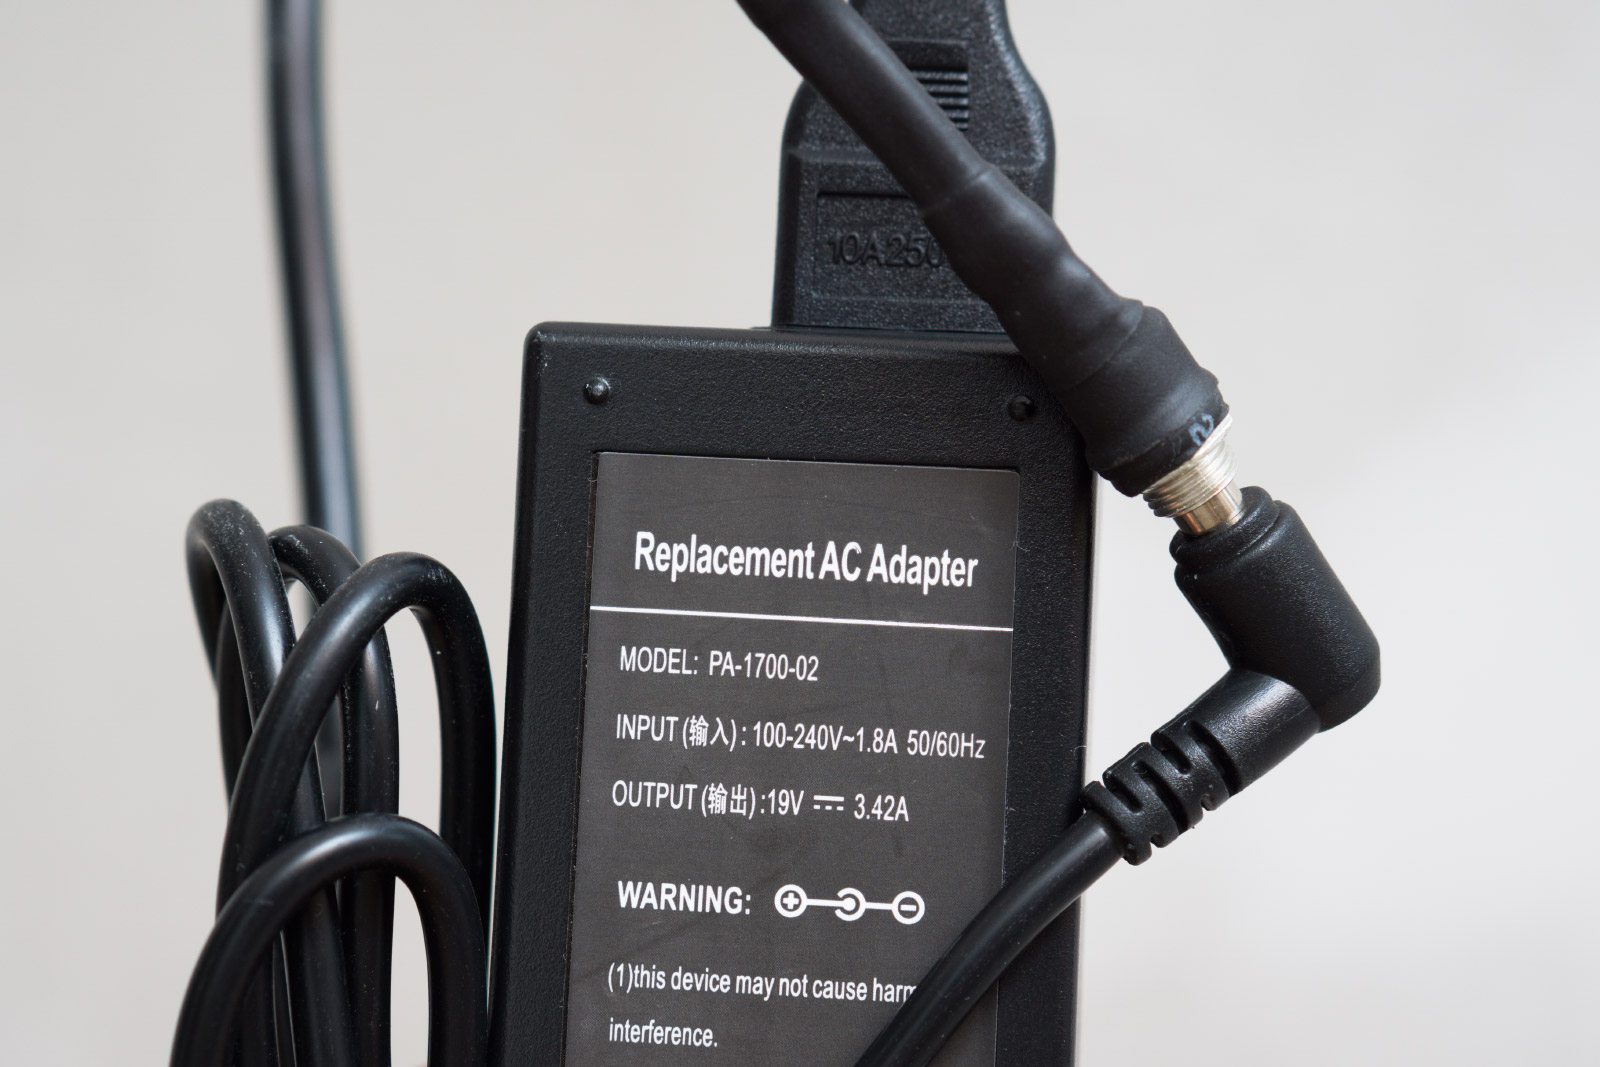
19v 60 Watt Adapter
Heat Shrink Tubing
Female DC Socket
LED Dimmer
Tripod to Hot Shoe Adapter (This can only be mounted to a flash bracket)
24 Gauge Conductor Wire
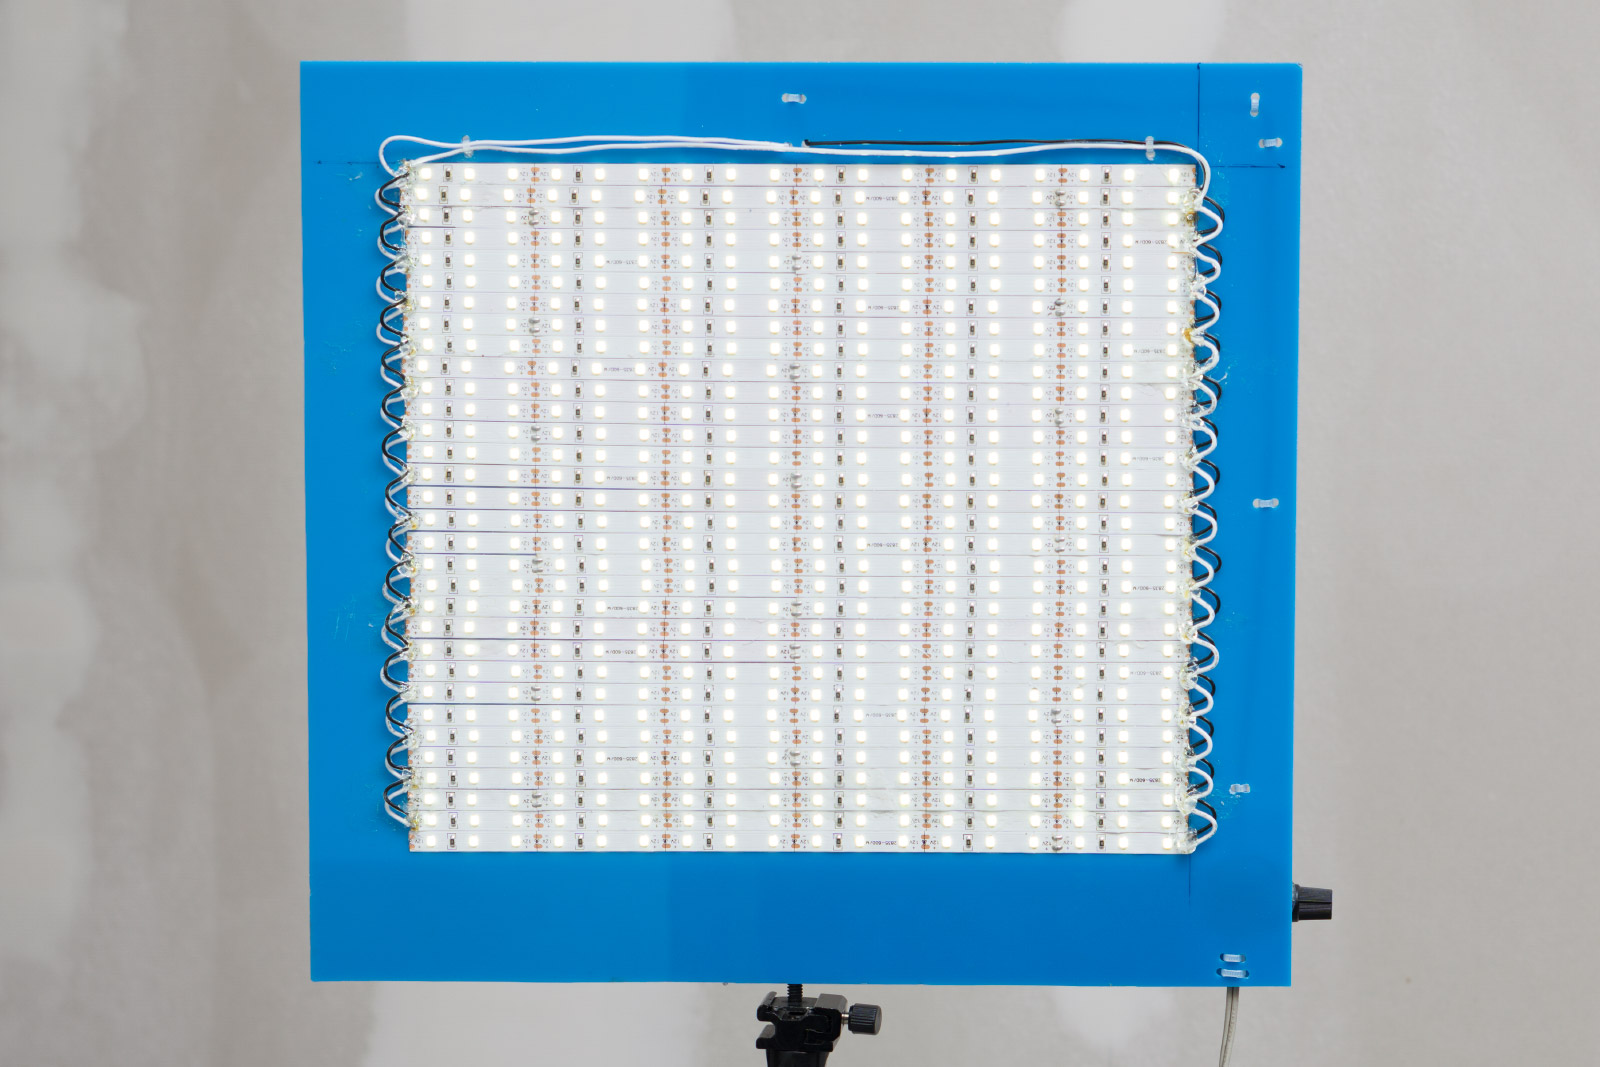
This is the complete LED panel. I decided to use an acrylic sheet because it’s easy to cut, lightweight, and durable. The way I have it wired allows it to half the voltage from the 19v adapter and power each LED strip with 9v. They are split into two sets of 16 strips wired in parallel. The two sets are wired into a series to split the voltage.
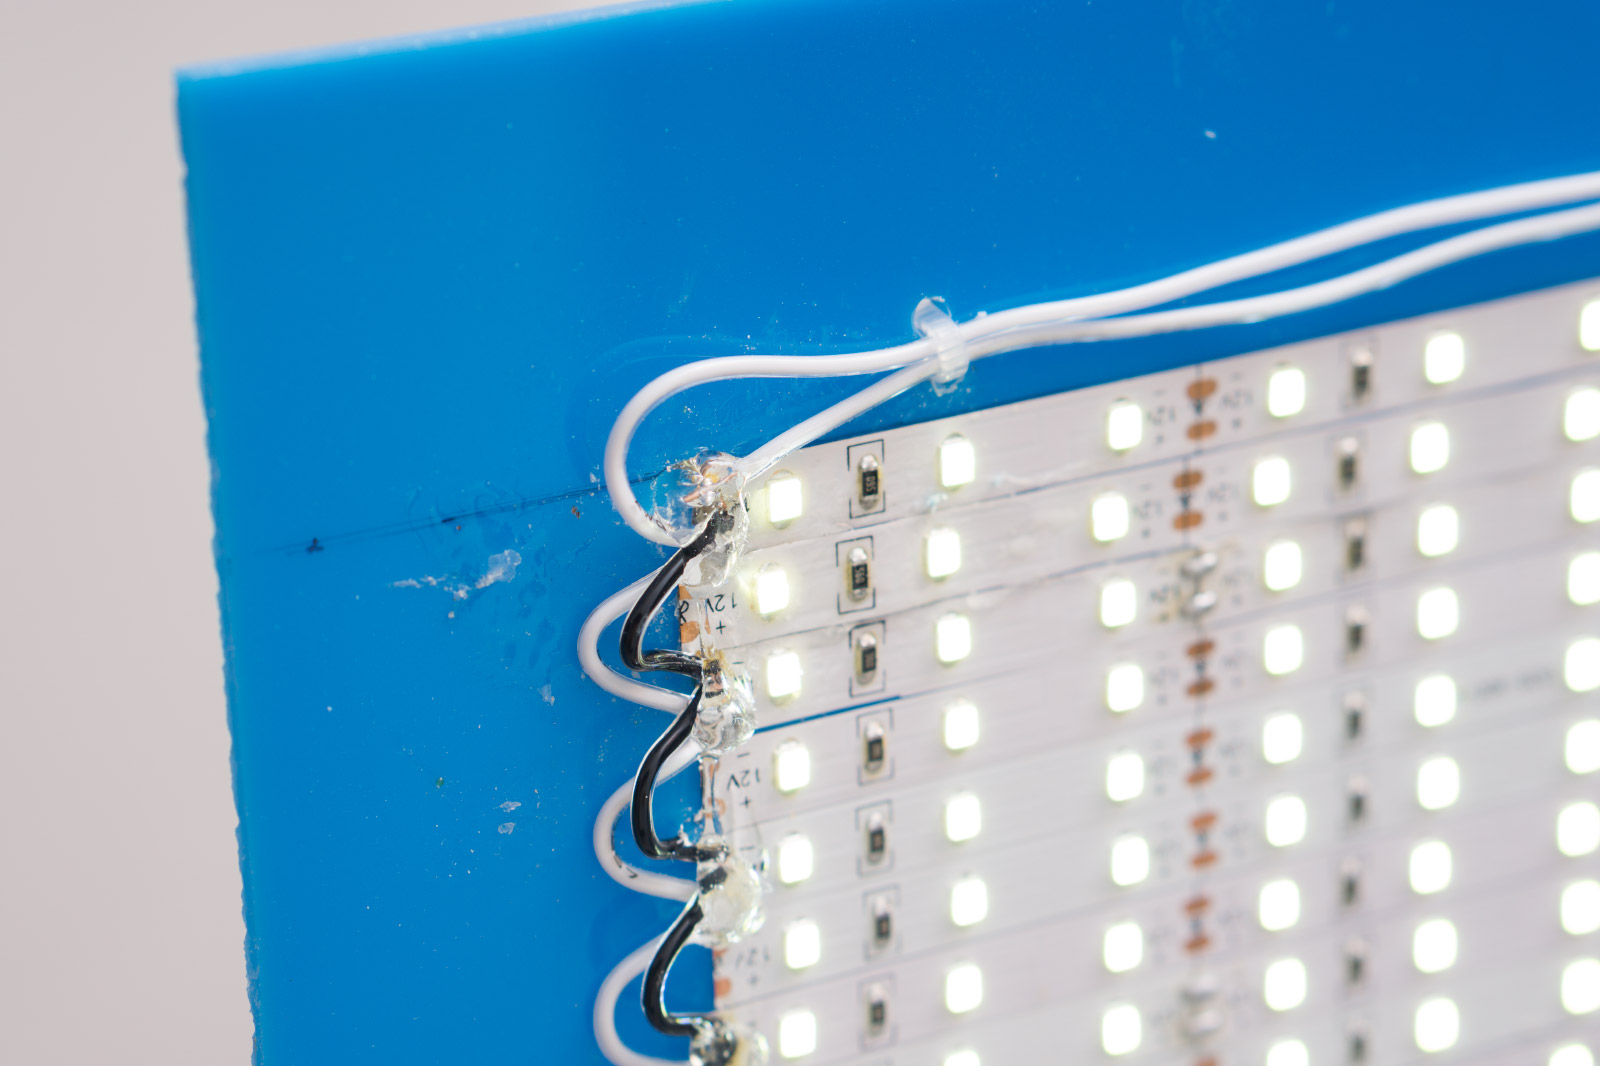
A closer look at the wiring. Each LED strip has copper terminals to solder the positive and negative wire. I applied clear silicone to the soldering spots to protect the wire.
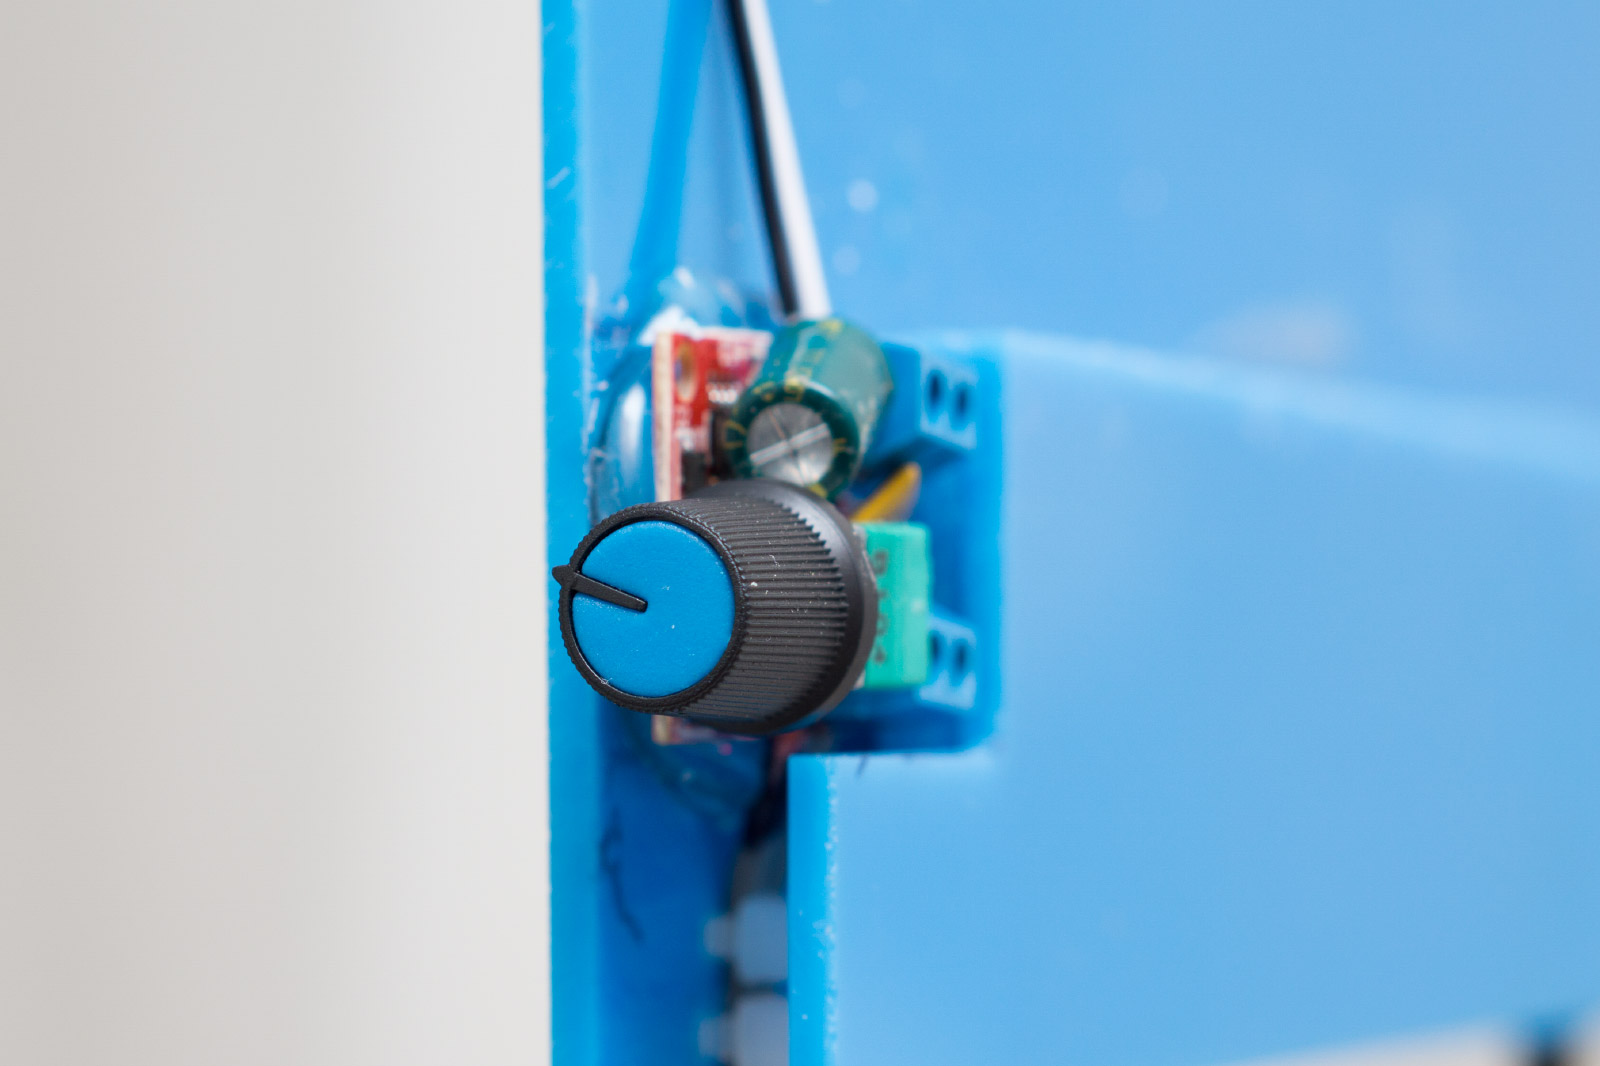
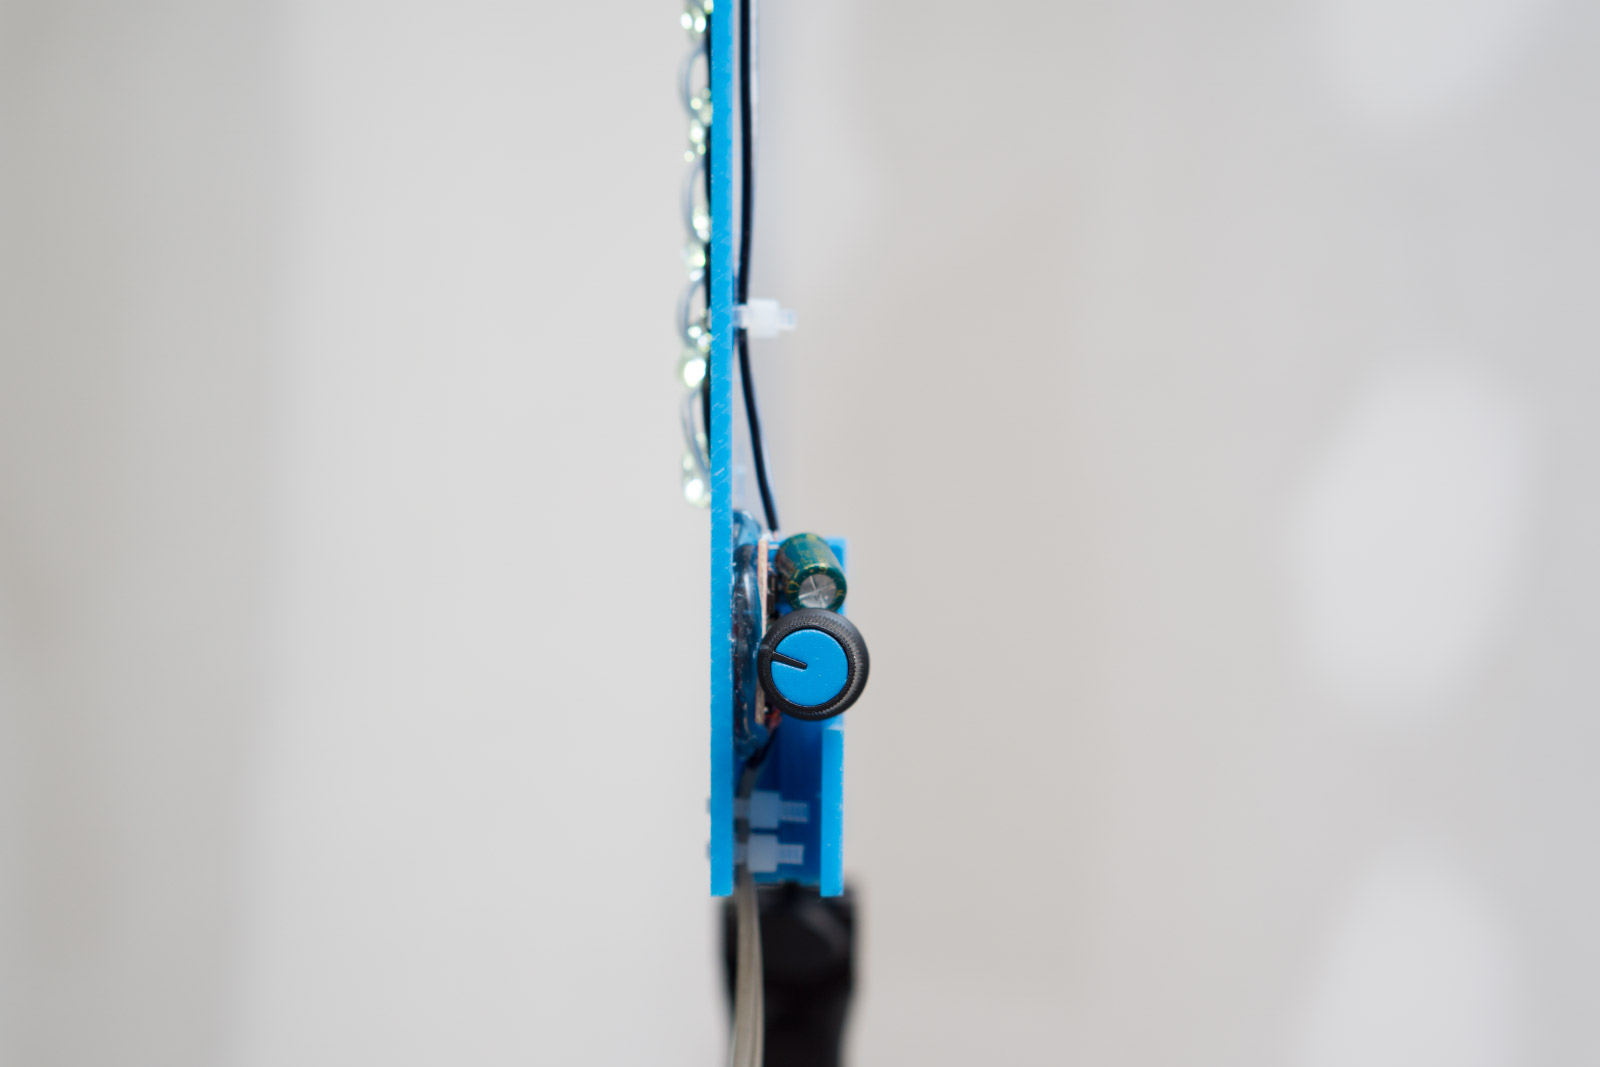
This a PWM LED dimmer. It dims by pulsing the LED’s thousands of times per second. Any shutter speeds over 1/2000 will show the flicker of the pulsing LED’s. One side connects to the LED’s and the other side connects to the power supply. The module is glued to the back of the panel with silicone.
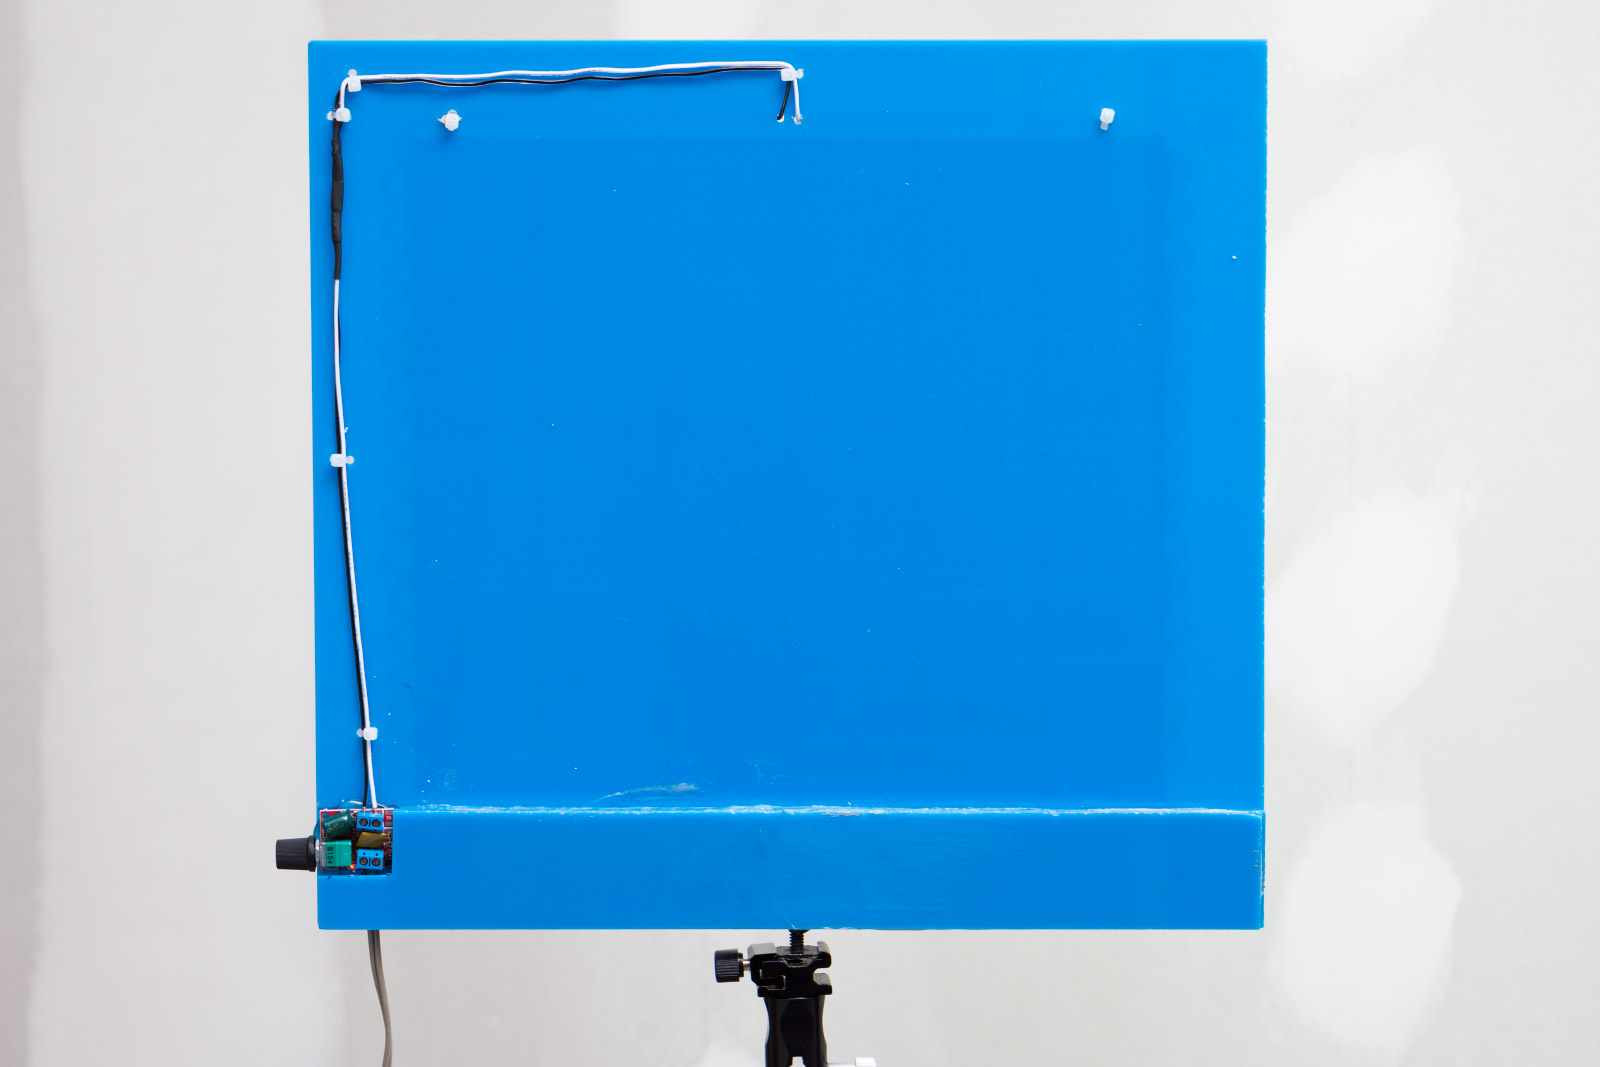
This is what the back of the panel looks like. The wiring is kept organized with zip ties. I drilled two small holes in the panel for each zip tie.
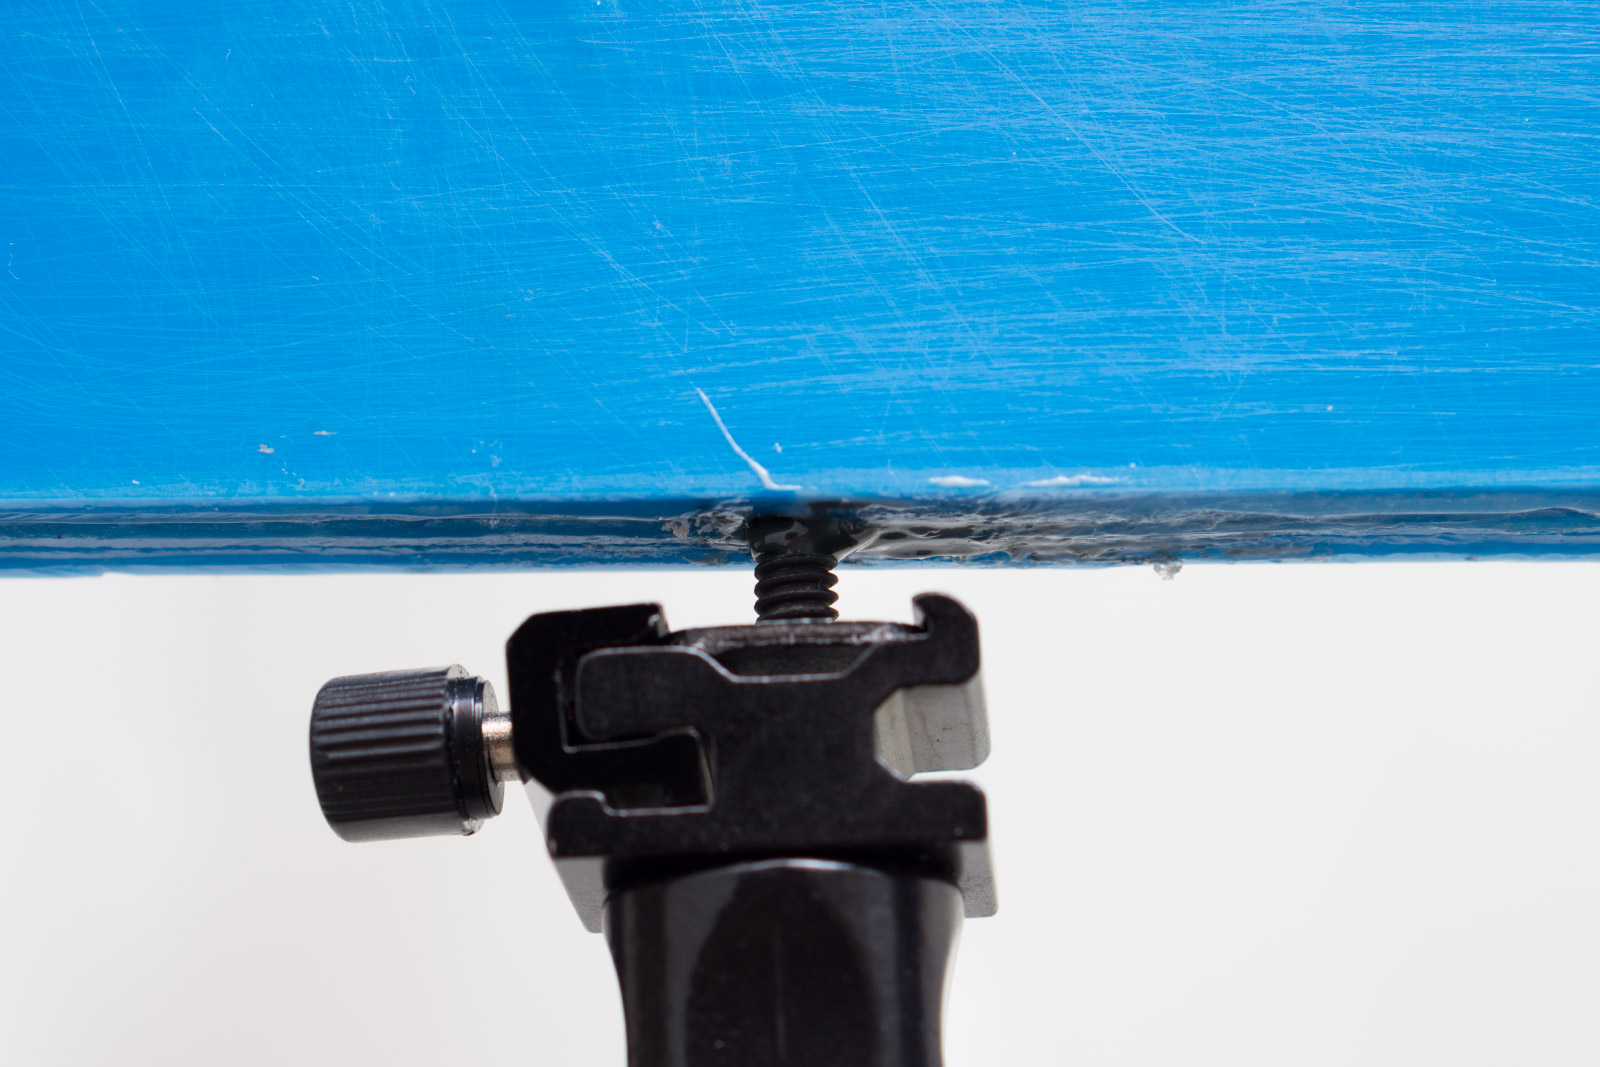
To create the mount, I glued 5 pieces of acrylic to the back of the panel to layer it up thick. I used a drill press to make a 1/4″ hole for the hot shoe to tripod mount. I used metal epoxy and screwed the adapter into the hole.
The panel is powered by a cheap laptop adapter. I soldered a DC socket onto a cable and used the heat shrink tubing to protect the wire. This cable connects to the LED dimmer.
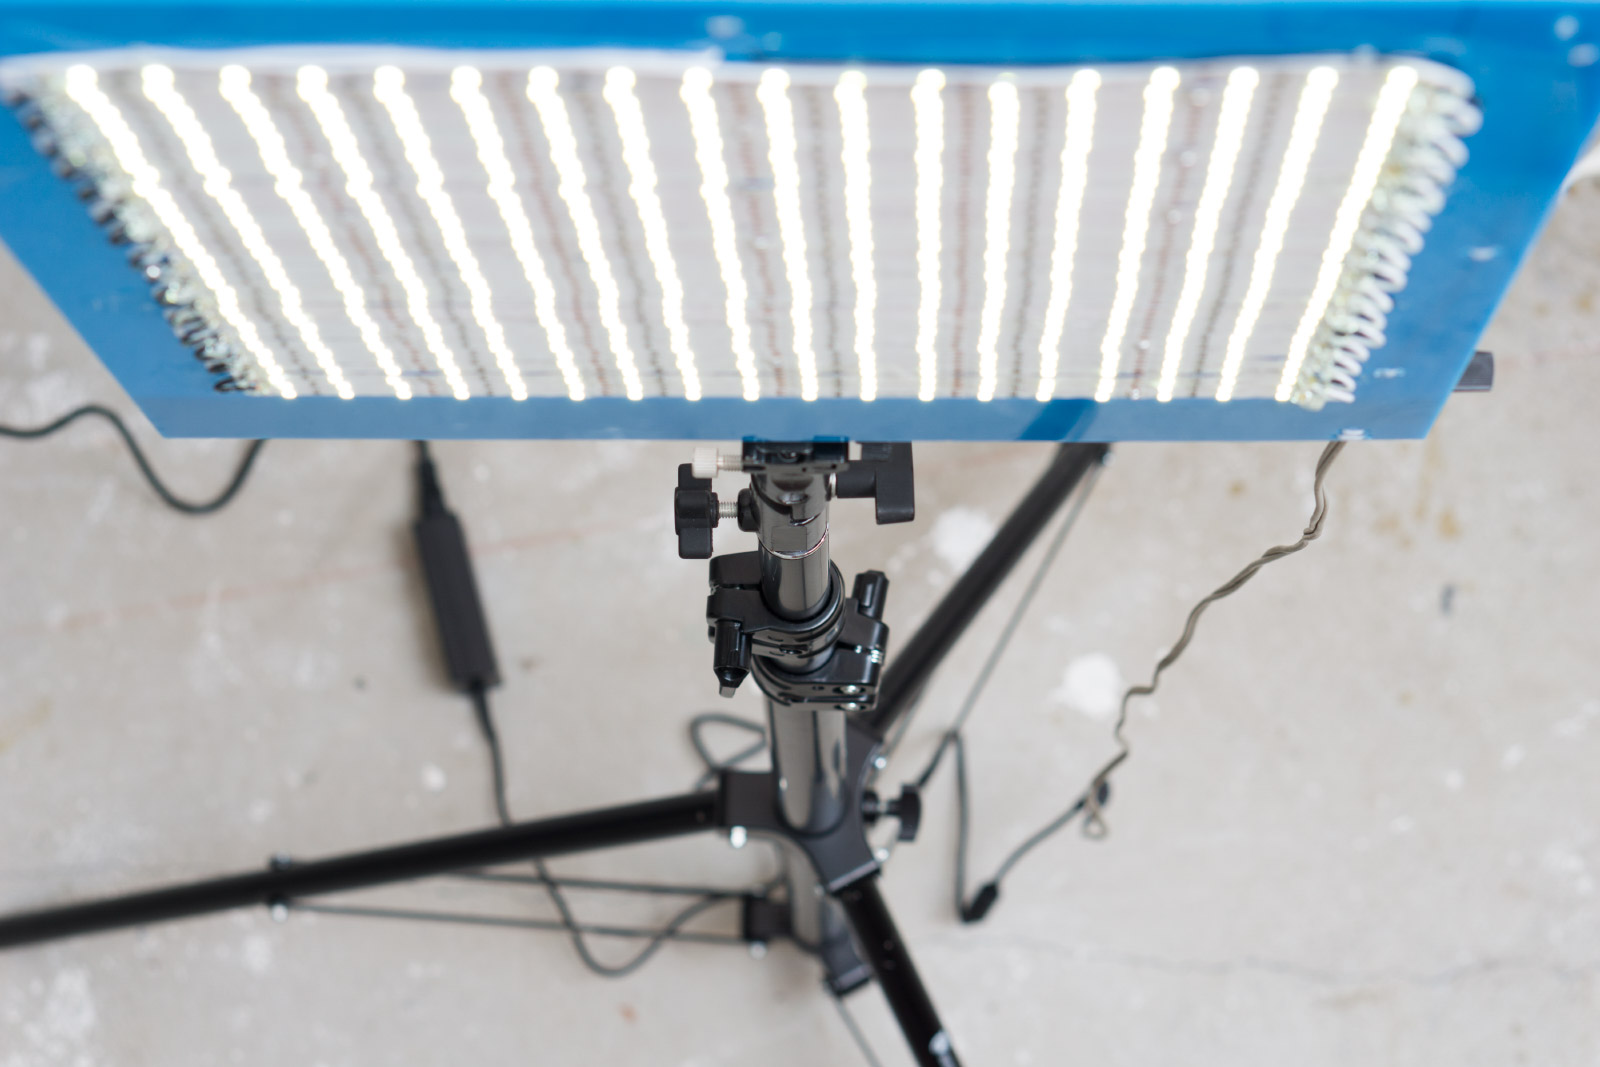
The panel mounted onto my light stand.
I’m pretty happy with the way the LED light panel. It’s thin and lightweight. The panel itself is 15″ x 15″. What I could do better next time is to get better LED strips. The ones I bought have a green color cast that kind of ruin skin tones in video. I would also do a nicer job with the wiring and solder. A white panel would be nice along with a design to enclose the LED dimmer module.
