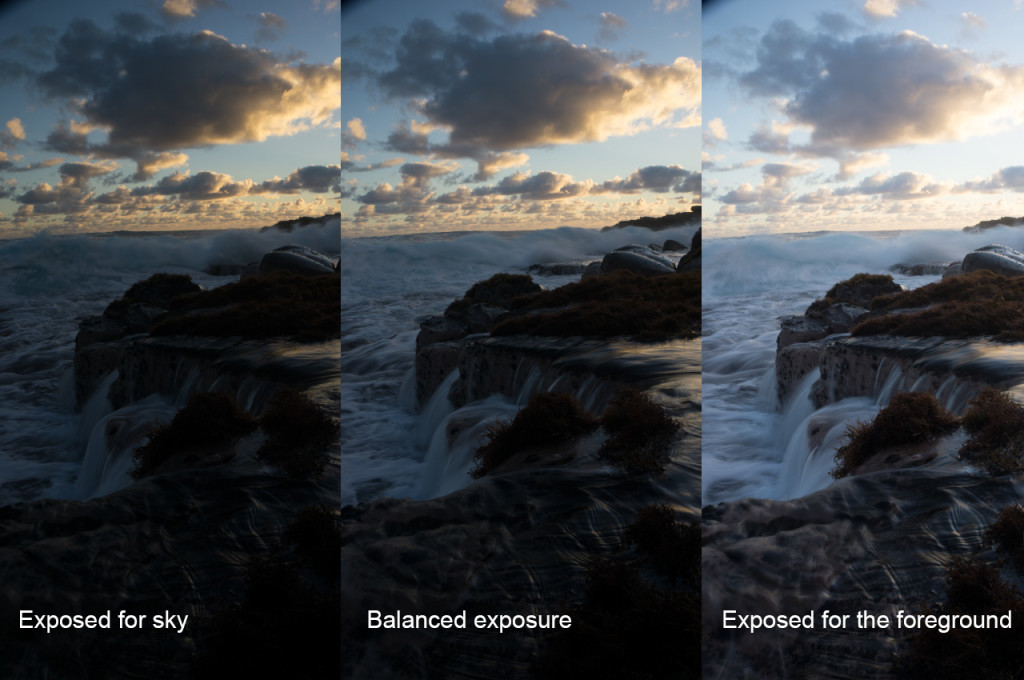
Creating balanced exposures can be tough when you have a scene with a high tonal range. One of the best ways to balance a scene is to use a graduated neutral density filter. A neutral density filter is like sunglasses for you camera. With a graduated nd filter, only a portion of the filter acts as sunglasses. Placing the dark portion of the filter in the sky is the way to balance the exposure.
Neutral density filters work great, but are also time-consuming, and sometimes you just cannot balance the scene. Bracketing your exposures and blending them in post gives you the ultimate control over you exposure. Using luminosity masks to blend the photos is a good method because it gives you full control over the tonal range. Luminosity masks are selections of specific tonal ranges of a photo that span from the shadows to the highlights. The blending is done by layer masking the bracketed images using selections from the luminosity masks. To create luminosity masks, you can download this Photoshop action here.
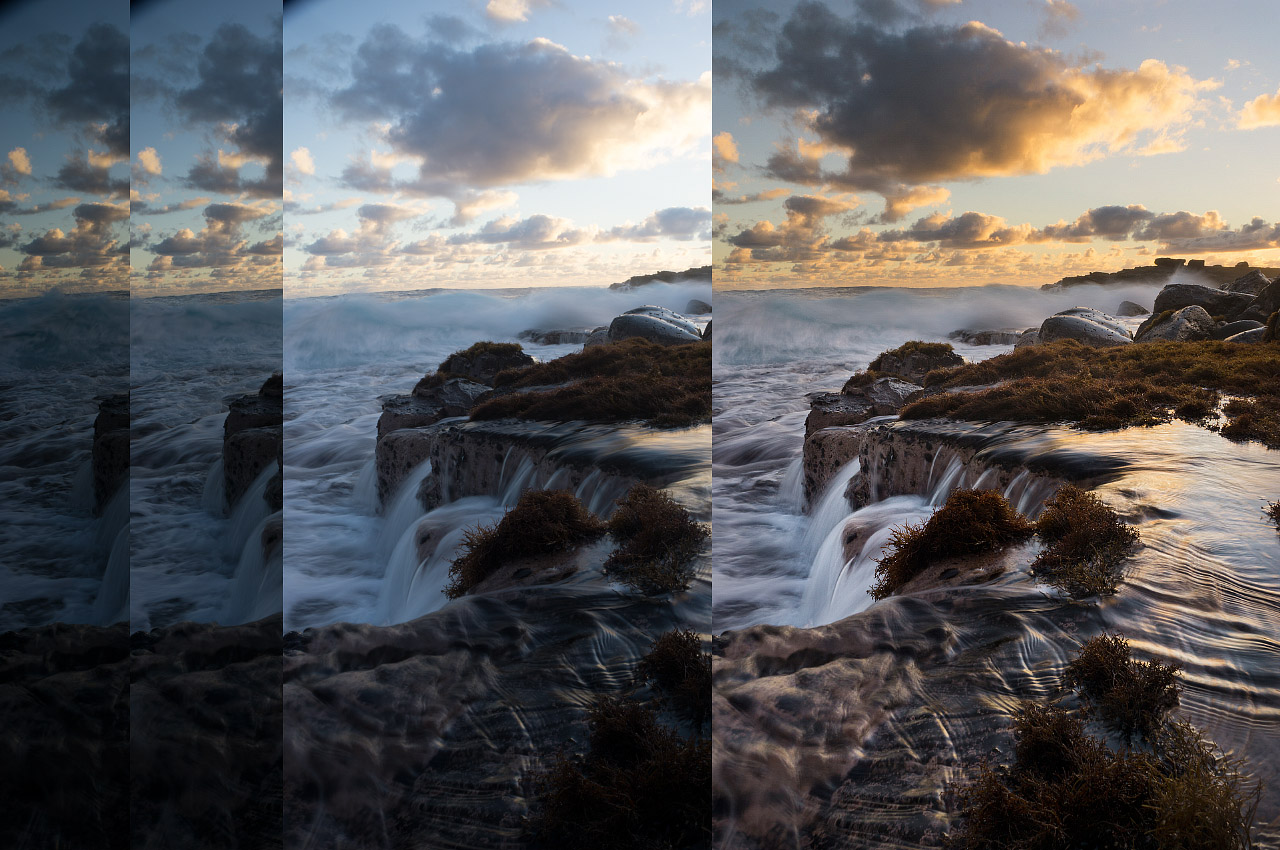
When capturing a scene with bracketed photos, make sure you get an adequate range of exposures. A typical sunset may need three exposures with a 1 EV range. A scene with more tonal range may need five exposures with a 3 EV range. The more dynamic range within a scene, the more range and number of exposures you need. It is crucial to have the proper exposures so that the blending can be done.
For this seascape photo, I only needed three photos with a 1 EV range to capture the whole tonal range. The underexposed image does not have any highlight clipping and the overexposed image does not have any clipped shadows.
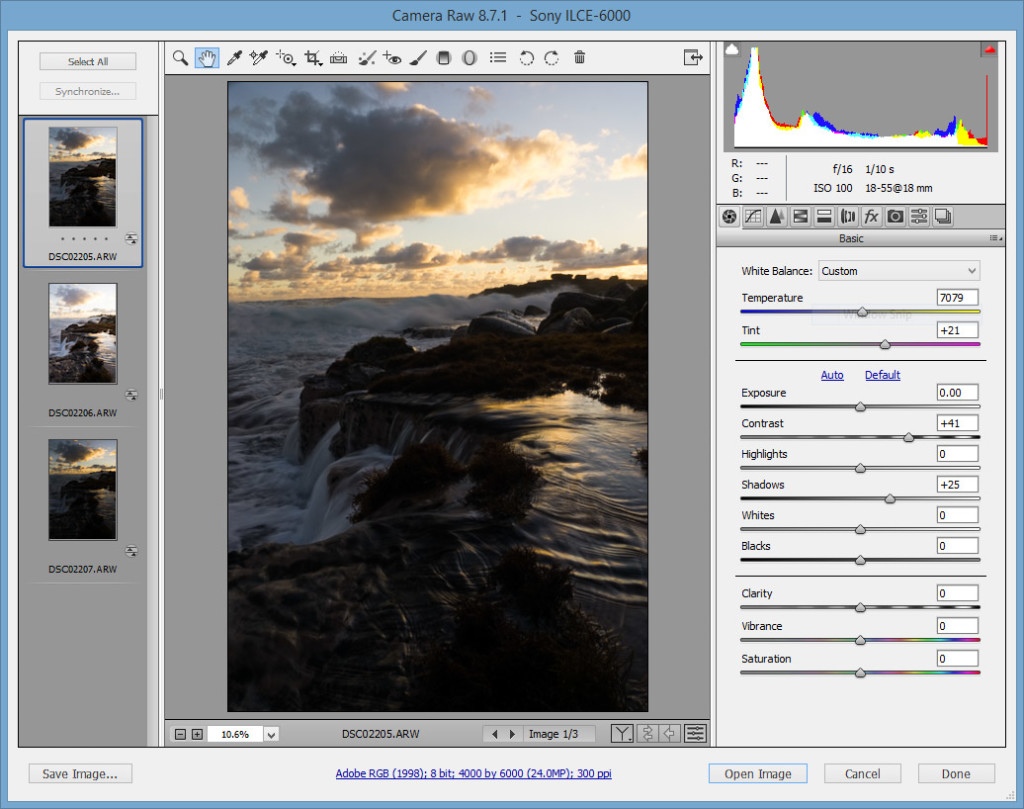
I opened the three exposures in Camera Raw and synchronized the settings across the three photos. I did a few adjustments to the contrast and white balance.
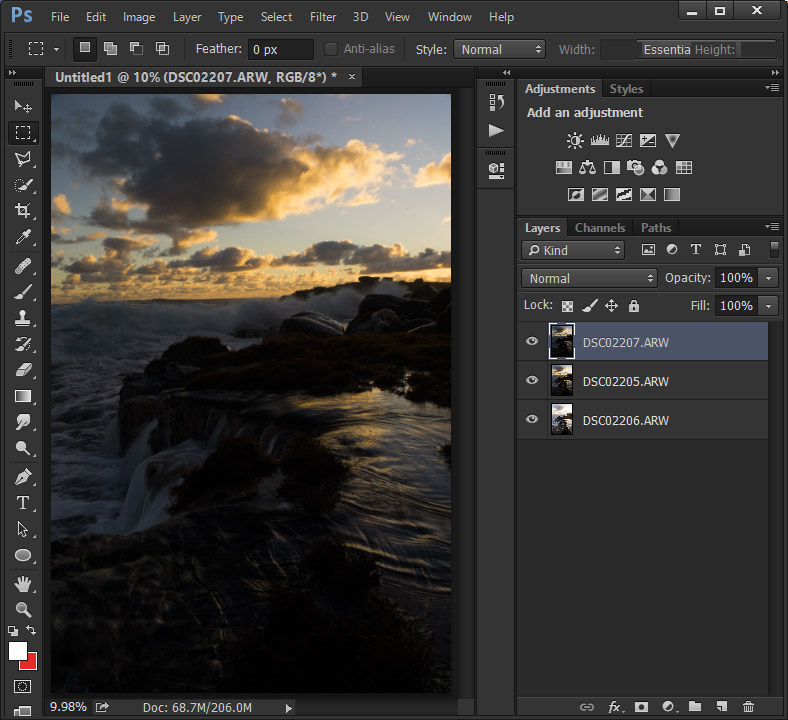
Next, I opened the three images as layers in Photoshop, placing the brightest exposures at the bottom.
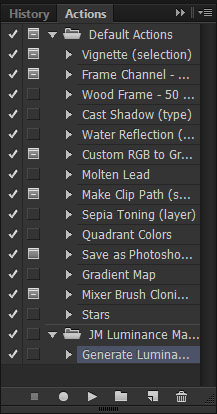
I created the luminosity masks by opening the actions windows and clicking play on “Generate Luminance Masks.” The masks will be created as channels.
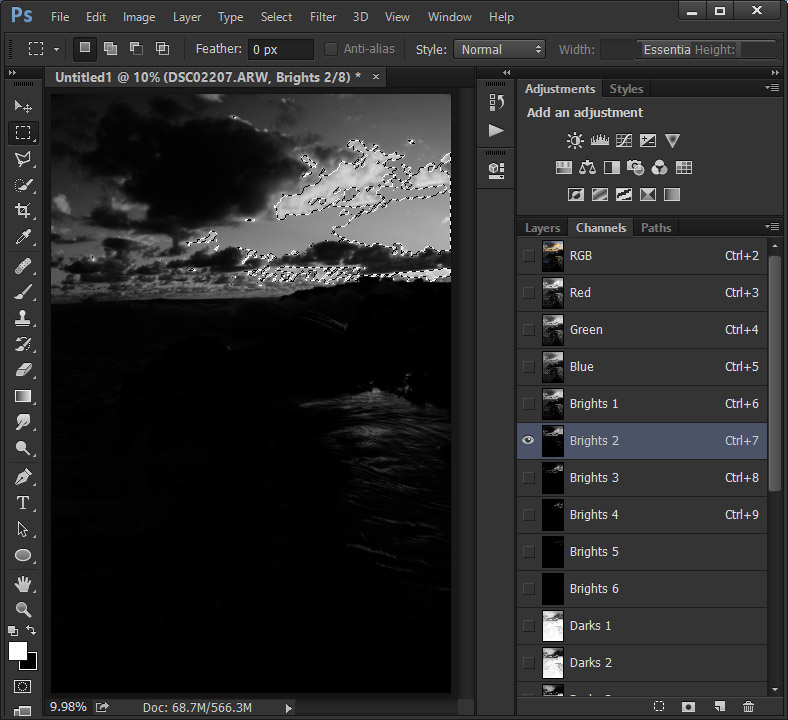
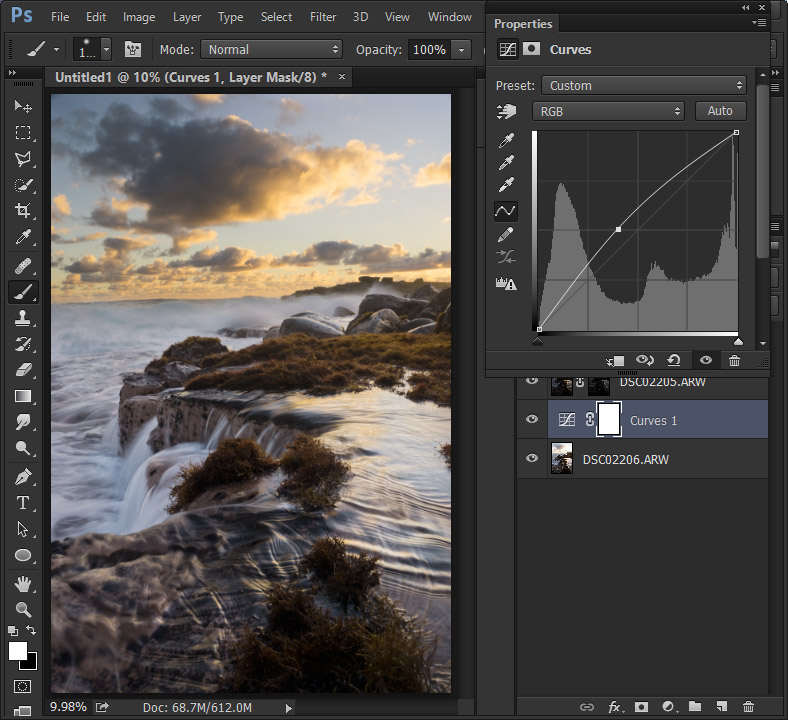
I wanted the underexposed layer to retain the detail in the brightest part of the sky. I went to the luminosity mask selections and found a channel that had the brightest parts of the sky and selected it by clicking the thumbnail while holding down the Ctr key.
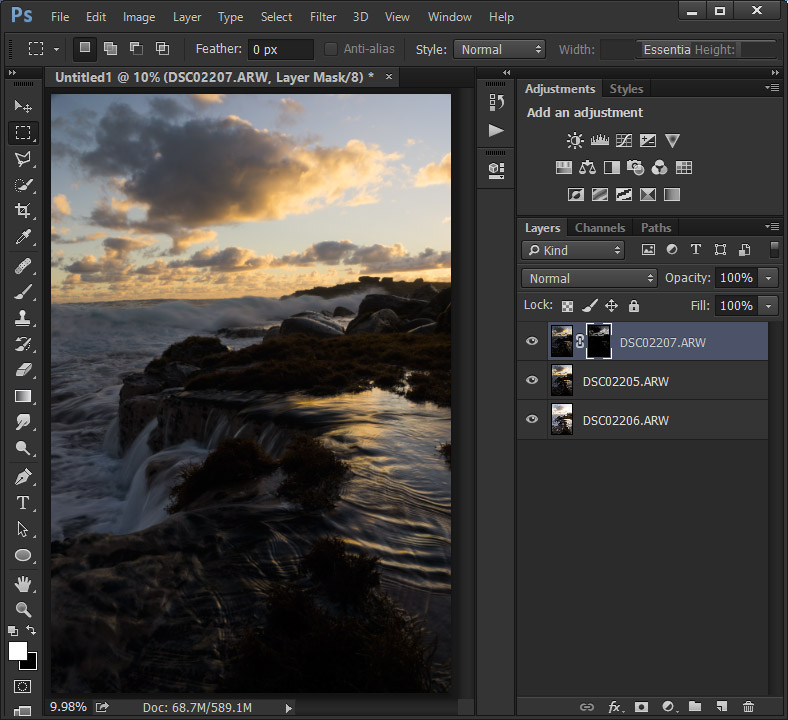
I went back to the layers panel and hit the layer mask button for the underexposed layer. The layer mask removed the underexposed parts of the image and retained the brightest parts of the sky. If I only had two exposures, the image would look terrible because the brightest part of the scene would be darker than the surrounding parts. That is why I have the balanced exposure for the rest of the sky.
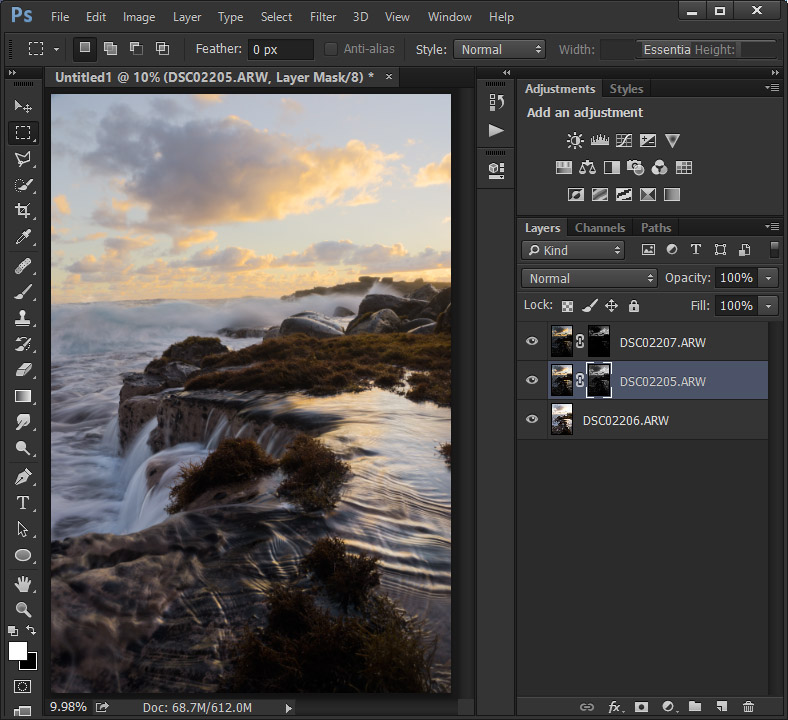
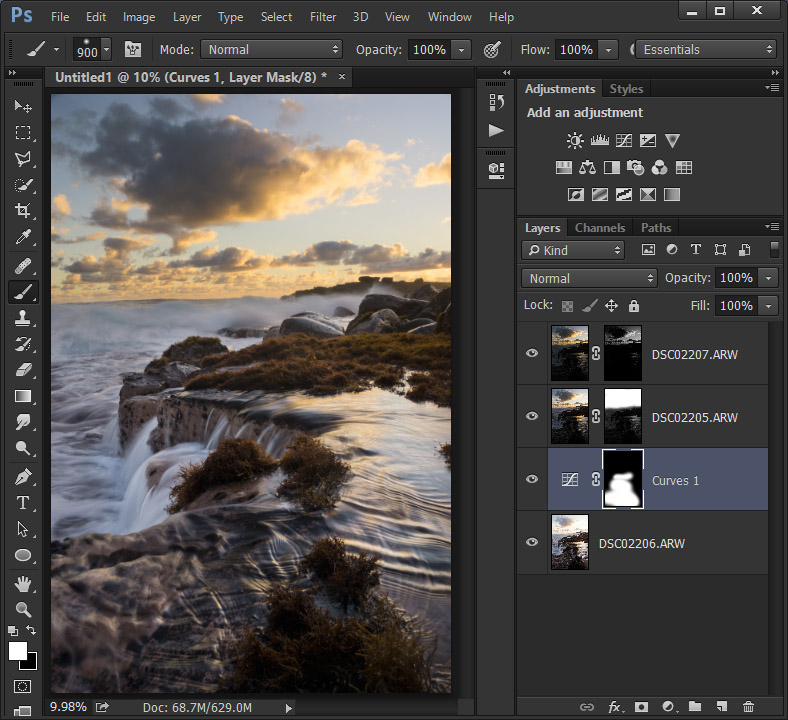
I used the same luminosity mask for the next layer and masked it. The foreground looks good, but the sky now looks too flat.

Using a soft white brush, I painted the sky back in. That is all for the blending! Next, I did curves adjustments.
I created a curves adjustment above the foreground layer and pulled up the curve to brighten it.
I only wanted to brighten specific parts of the foreground, so I inverted the mask and used a white brush to paint the parts I wanted to be brighter.
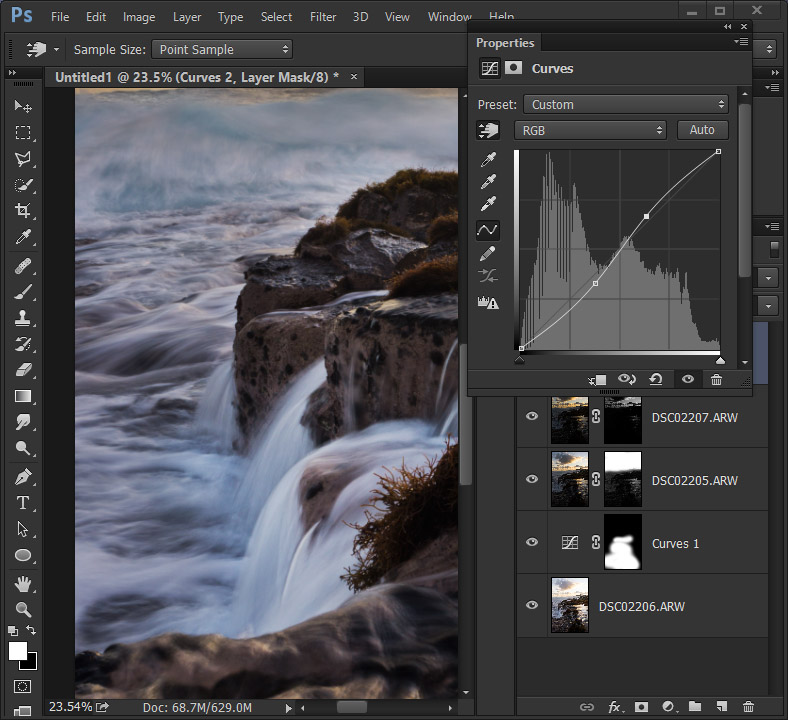
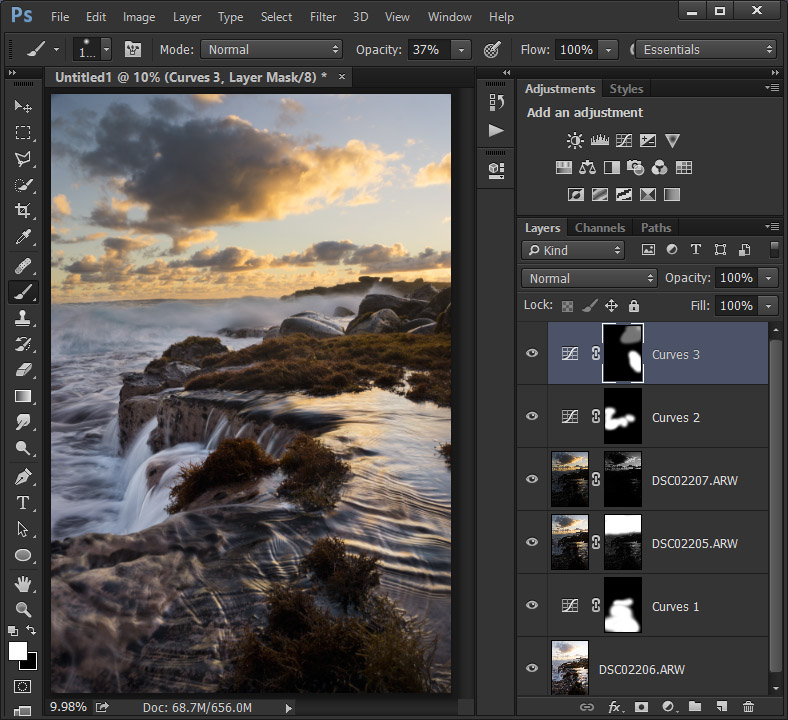
To increase the contrast of the waterfall, I created a curves adjustment above all the layers. I used the pick tool to select a dark part and a bright part of the water. This created anchor points in the curve at the tonal points I chose. I created an S curve to increase the contrast.

I inverted the mask and painted only the parts that I wanted an increase of contrast. I also changed the blending mode to “Luminosity” so that the colors were not affected.
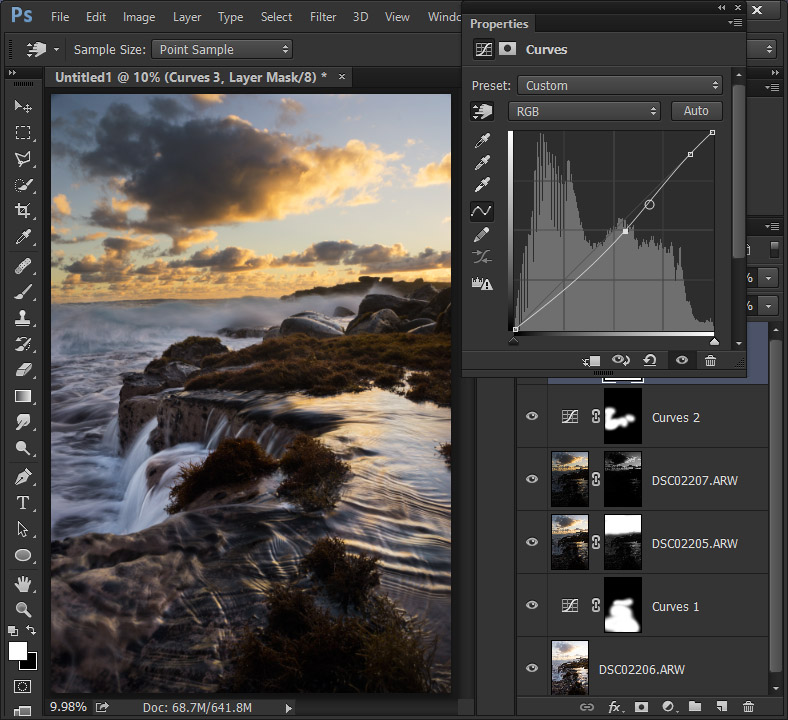
I created another curves adjustment to darken parts of the image. I pulled the curve down to darken the photo.
Then I inverted the mask and painted only the parts that I wanted darkened.
Luminosity masks are a time consuming process, but can give you excellent results if done properly. They give you full control over your image and saves you time during the shoot.
Check out the full process in this video: