Shooting the Milky Way and astrophotography in general can be a daunting task. Noise can become a problem even with modern full-frame cameras. Processing the Milky Way can make the noise even more prominent. Typical noise reduction techniques will often smear the detail making the image look unnatural.
Noise averaging is one of the greatest techniques to reduce noise without losing detail. It relies on the random noise patterns of digital sensors. If you take multiples exposures of a scene and average them together into one image, the noise appears to decrease. The random noise pattern will even out with each additional image being stacked.
[fusion_builder_container hundred_percent=”yes” overflow=”visible”][fusion_builder_row][fusion_builder_column type=”1_1″ background_position=”left top” background_color=”” border_size=”” border_color=”” border_style=”solid” spacing=”yes” background_image=”” background_repeat=”no-repeat” padding=”” margin_top=”0px” margin_bottom=”0px” class=”” id=”” animation_type=”” animation_speed=”0.3″ animation_direction=”left” hide_on_mobile=”no” center_content=”no” min_height=”none”][twentytwenty]
[/twentytwenty]
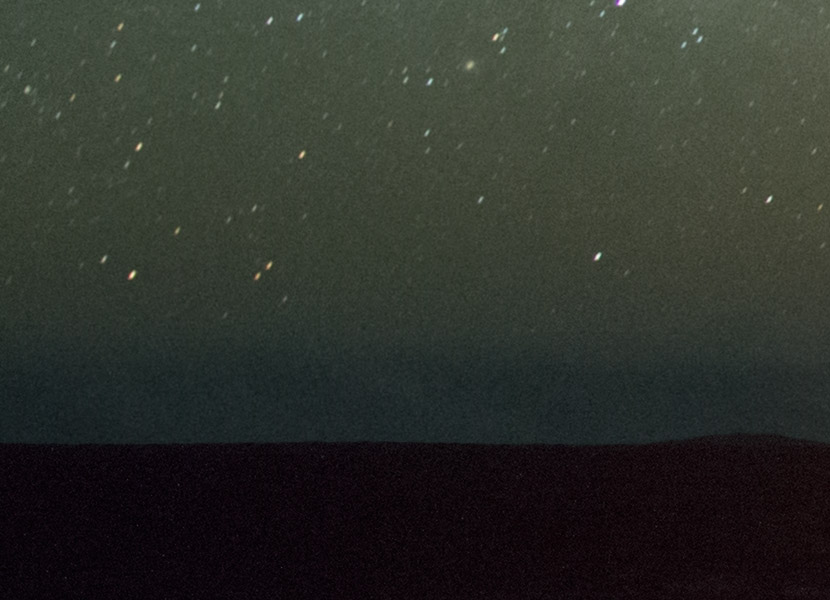
Before and after noise averaging using my technique to align the stars.
Noise averaging works wonders for still photography. When it comes to shooting the Milky Way, it isn’t exactly “still” photography. The Earth’s rotation makes it appear as if the stars are moving. If you shoot multiple exposures of the Milky Way and stack them, there will be star trails. To eliminate this problem, I will show you a technique that will allow you to stack the photos without introducing star trails.
This technique takes quite a bit of time to process. It involves using Photoshop’s Auto-Align Layers function and a bit of manual alignment by warping the image. It can produce fantastic results that rival the signal to noise ratio of even the best cameras.
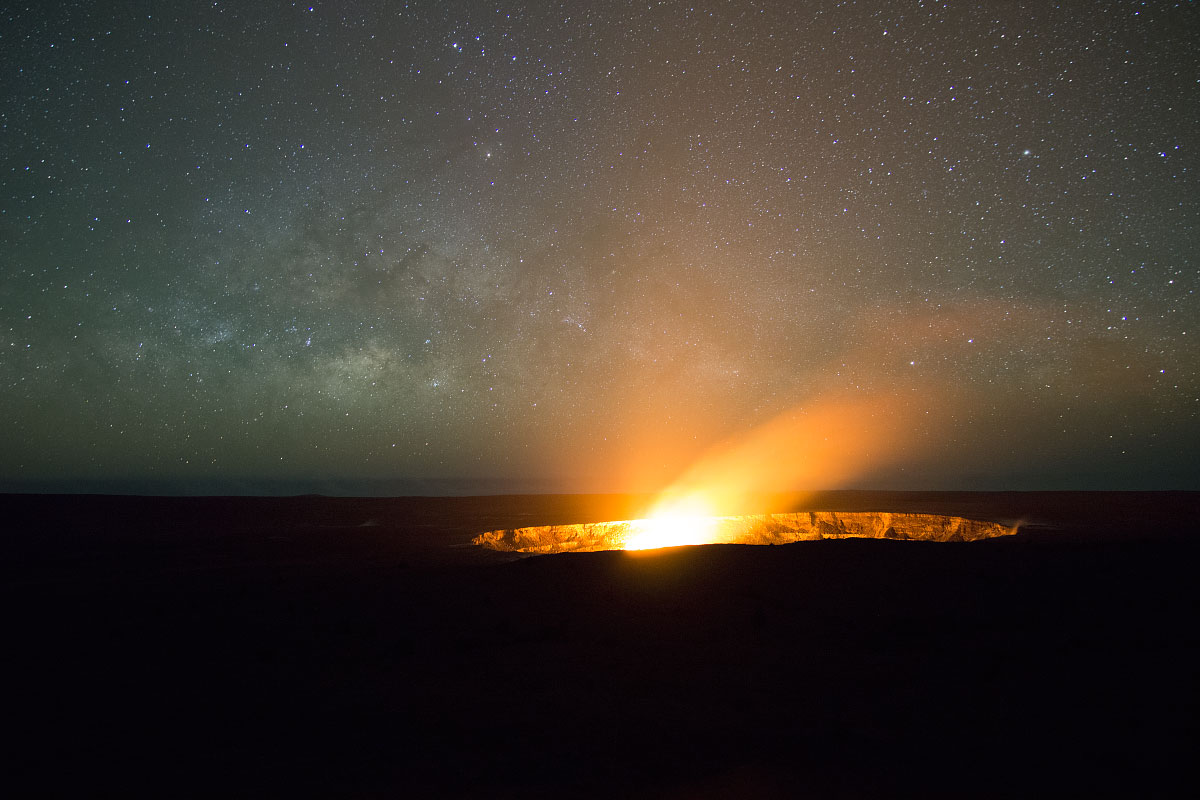
To all those shooters out there: Yes you can shoot the Milky Way even with a crop sensor camera and slow lens.
I’d recommend taking 4-8 exposures to produce your final image. Keep in mind that the more exposures you take the more manual labor you have to do in Photoshop.
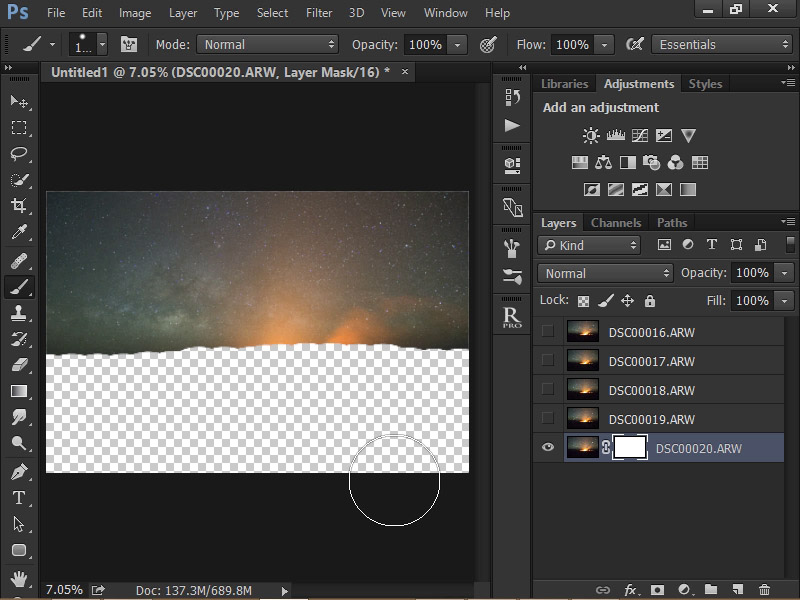
The first thing you want to do is open your photos as layers in Photoshop. There are multiple ways to do this. From Lightroom, right click on your selected photos: Edit In>Open as Layers in Photoshop. To do it from Photoshop: Files>Scripts>Load Files into Stack.
The first step to eliminate star trails is to use the Align-Align Layers function. To accurately align the stars, we need the prevent Photoshop from reading data from foreground. Creating layer masks will prevent Photoshop from reading the parts you hide. Making sure only one layer is visible, use a large black brush with 100% hardness and brush along the areas you want to hide. You can then copy the layer mask to the other layers by holding down the Alt key and clicking and dragging the layer mask to the other layers.
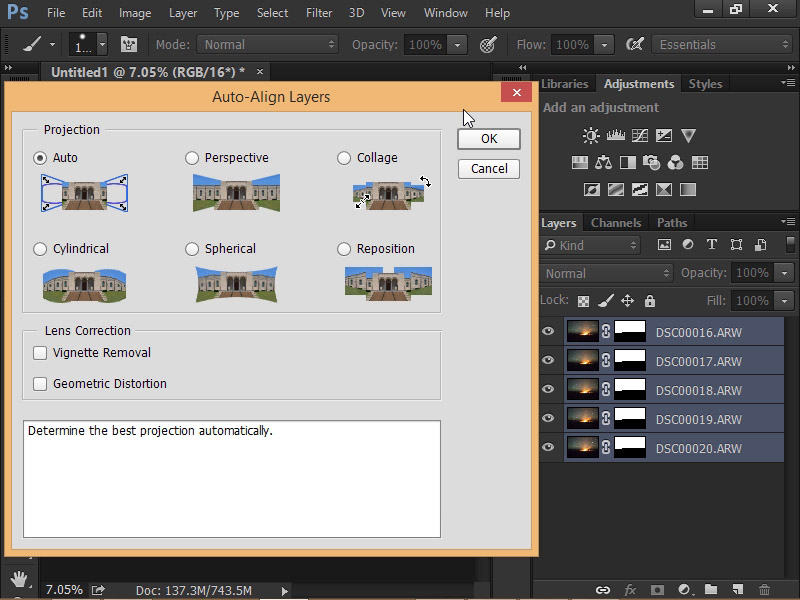
Select all your layers and go to Edit>Auto-Align Layers. A dialog will appear. Set the projection method to Auto and make sure that the lens corrections are unchecked. Hit the OK button once you have these set. Photoshop will do a pretty good job of aligning the stars. At this point, you can delete the layer masks. The way that the stars rotate on an axis will stop the Auto Align function from doing a perfect job. The next step is to manually align the stars.
[/fusion_builder_column][fusion_builder_column type=”1_1″ background_position=”left top” background_color=”” border_size=”” border_color=”” border_style=”solid” spacing=”yes” background_image=”” background_repeat=”no-repeat” padding=”” margin_top=”0px” margin_bottom=”0px” class=”” id=”” animation_type=”” animation_speed=”0.3″ animation_direction=”left” hide_on_mobile=”no” center_content=”no” min_height=”none”][twentytwenty]
[/twentytwenty]
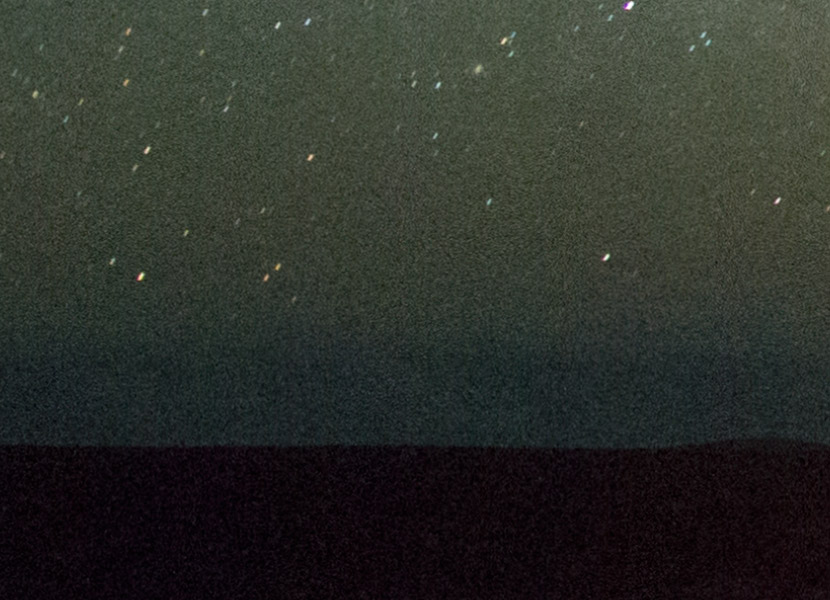
If we tried noise averaging now, we would still see some star trails.
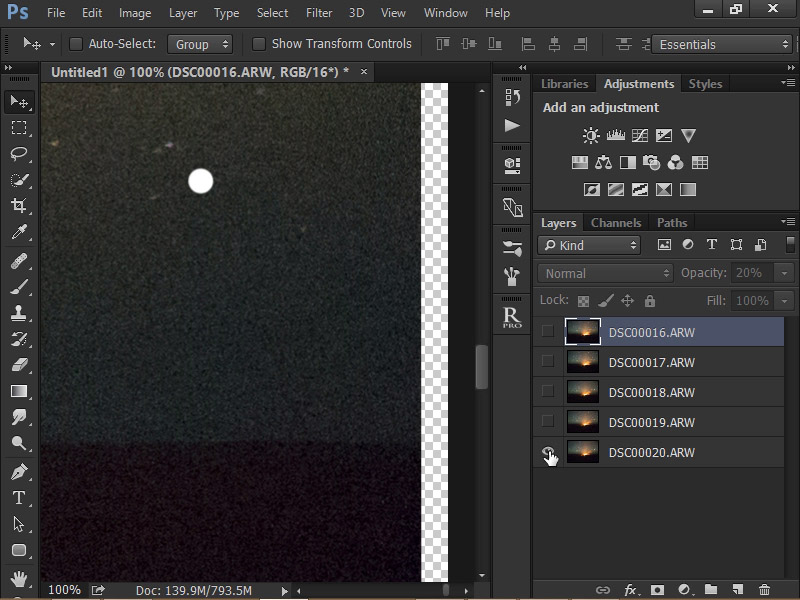
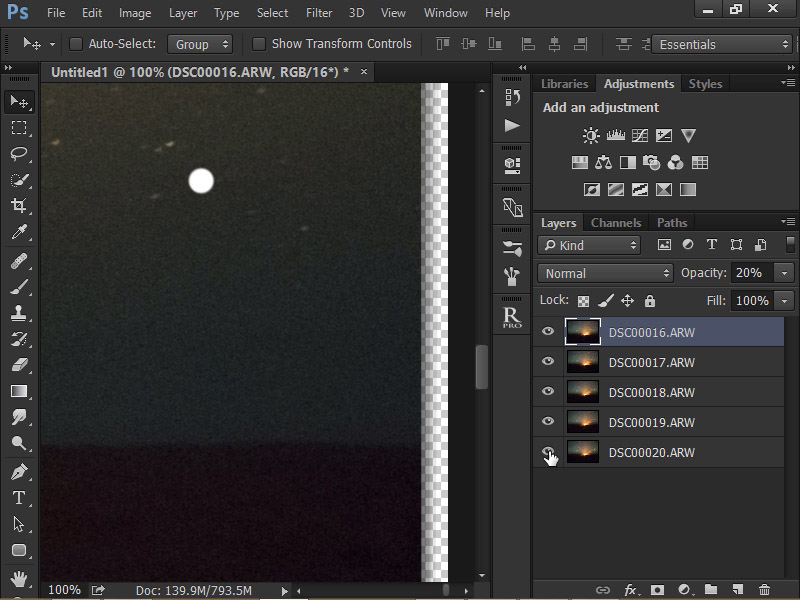
The best way to align the stars is to create reference points and use those as a visual cue to warp the stars into the correct position. We’re going to create reference points in the corners and middle of the sky.
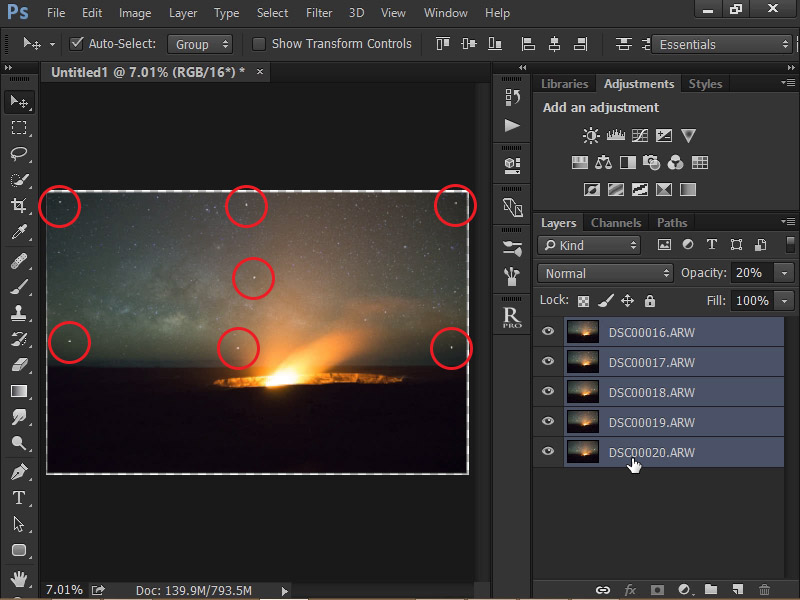
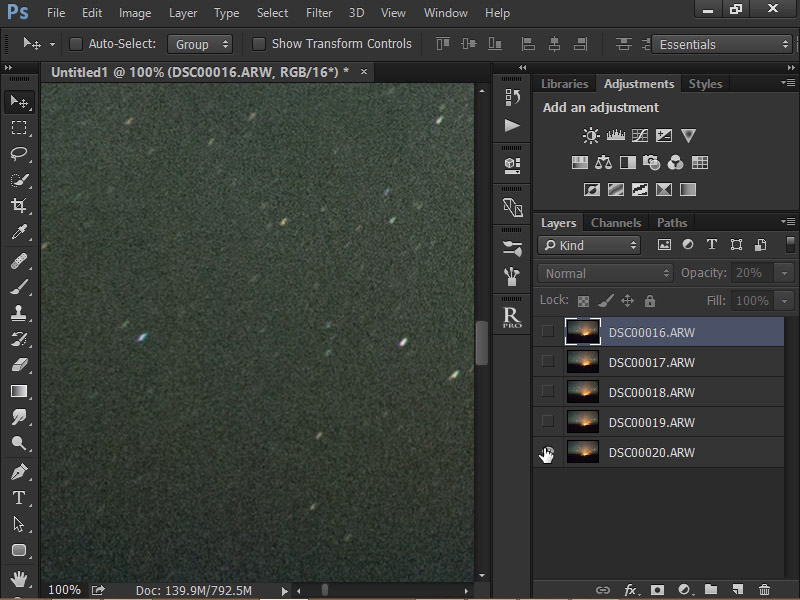
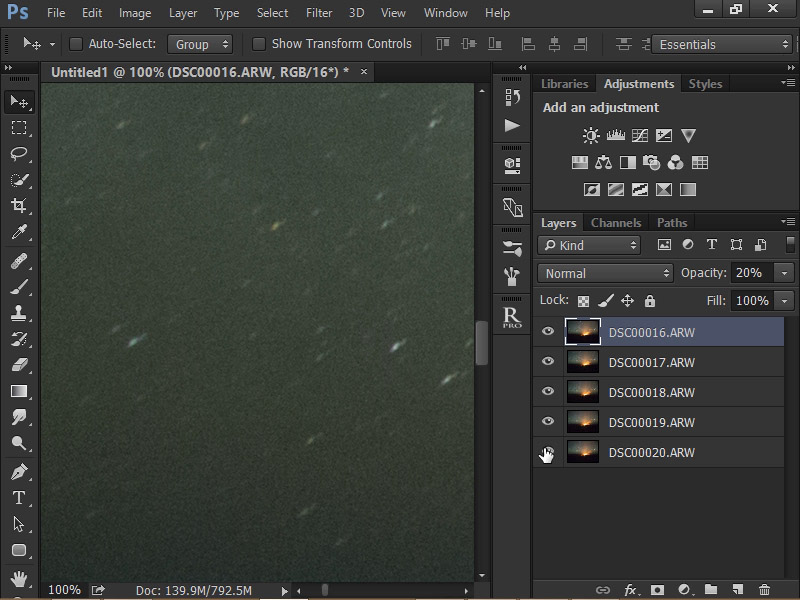
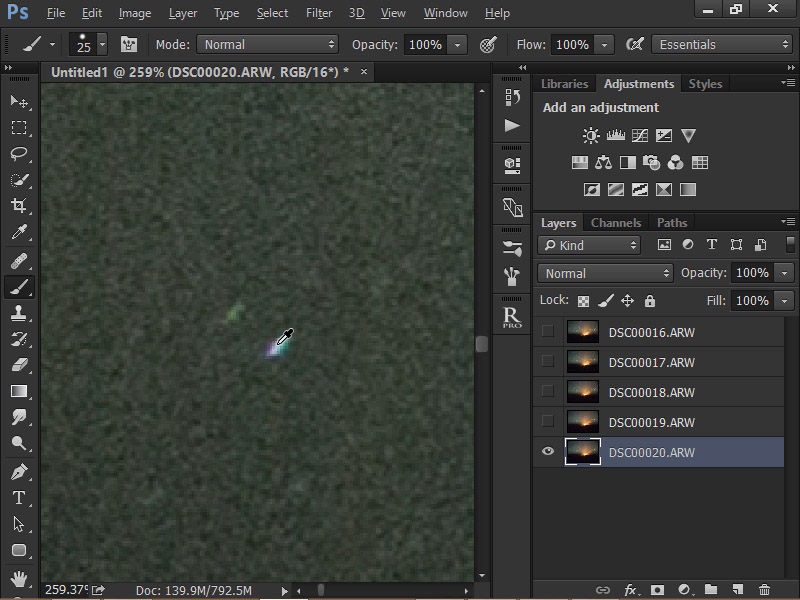
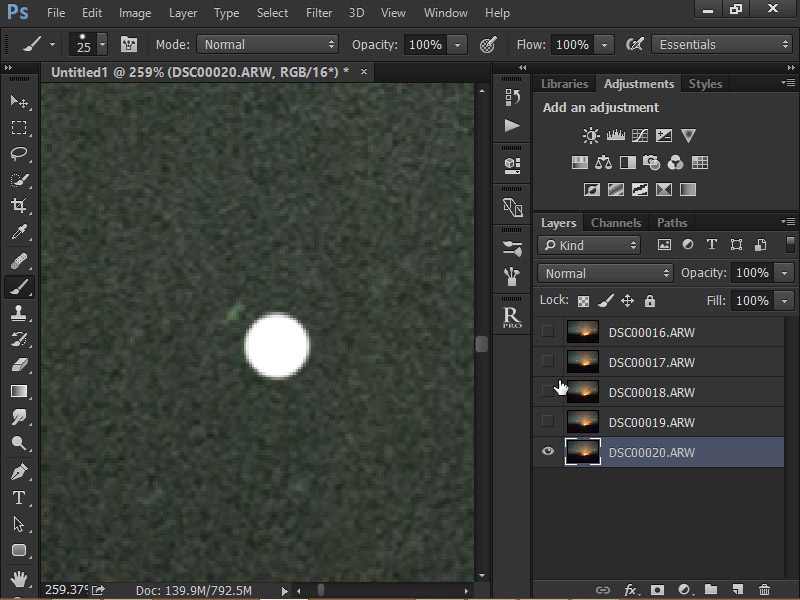
These reference points are small white dots. We will use the brush tool with 100% hardness and a size moderately larger than a single star. Hide all your layers except the first. Go to your first corner and find a star that is clearly visible in all the layers. Make sure it isn’t a prominent star or planet. With the brush tool selected, hold down Alt button and position the paint dropper tool in the middle of the star. We will only be using the eye dropper as a reference. Let go of the Alt button and left click to make a dot. Do this with the same star on each of the other layers. Move to your next corner and repeat and so on.
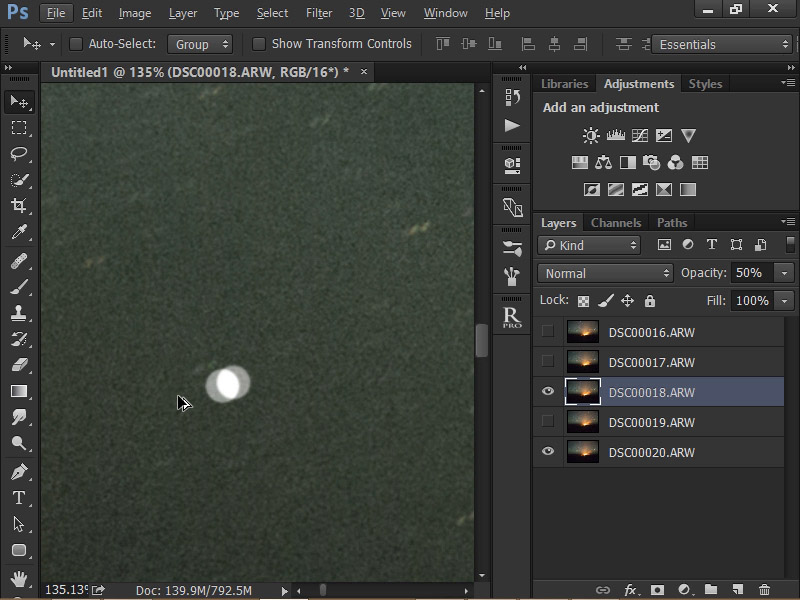
Once you have made all the reference points, it is time to start manually aligning. Set all your layers except the bottom one to 50% opacity. The bottom layer will be used as reference for alignment. Hide all your layers except the bottom layer and the layer you’re working on. Navigate and zoom into one of your reference points to make it easier on yourself. It might be easier to start with the corner and work your way from there. Press Ctrl+T or Command+T (Mac) to activate the transform tool. Right-click and select Warp to use the warp transform tool.
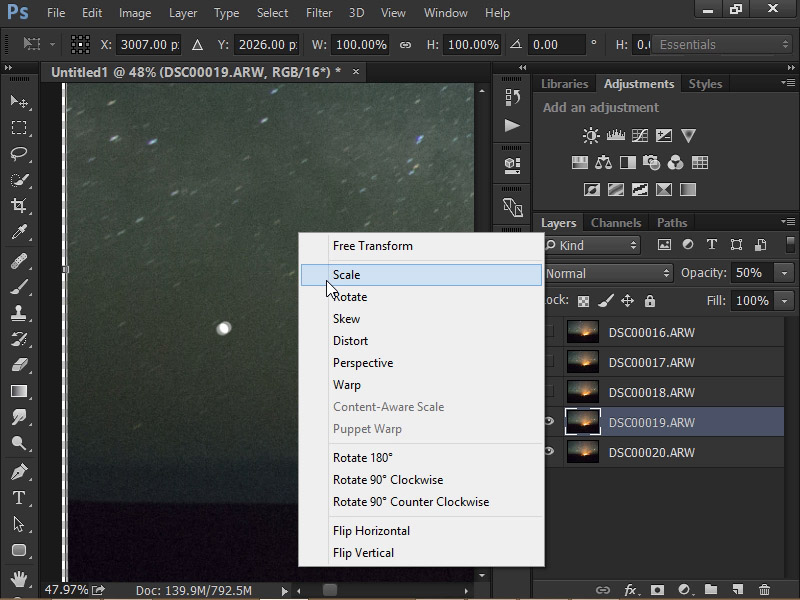
Click and drag your mouse until the reference point is aligned with the one on the bottom layer. It may take some fiddling to get the reference point exactly lined up. Align your next reference point and so on. Once you have all your reference points on the layer aligned, press enter or press the check button to apply the warp to the layer. Now hide this layer and make the next one visible. Repeat the steps until the reference points on all the layers are aligned. You may notice some of the layers not aligned perfectly. You can toggle the visibility button and use the arrow keys to nudge the layer 1 or 2 pixels over.
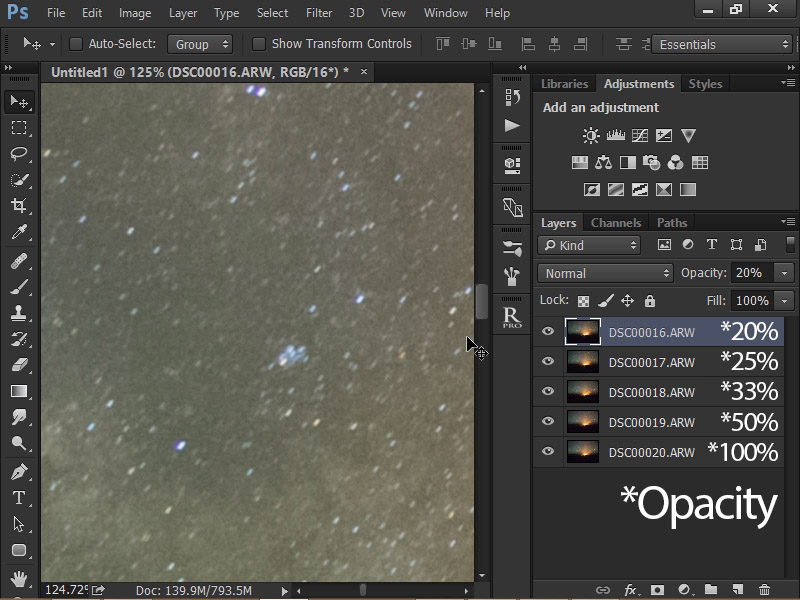
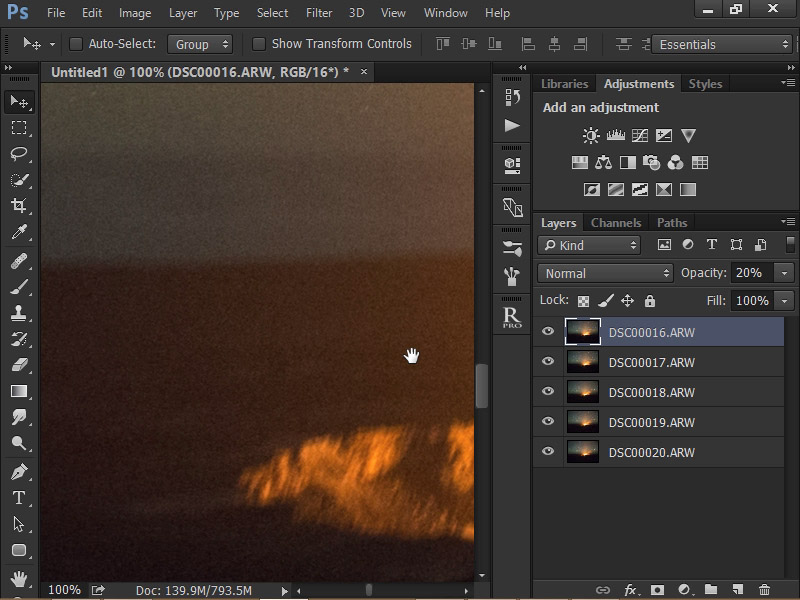
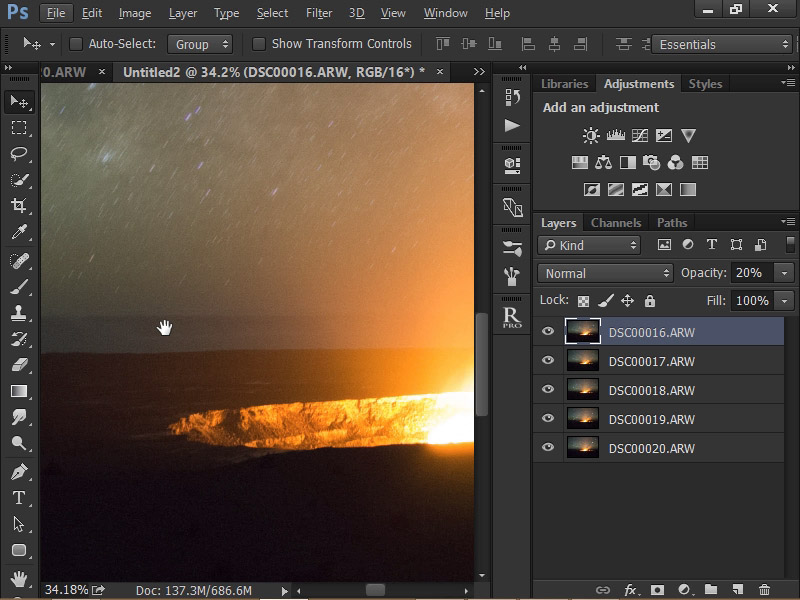
Now we will noise average the image. The formula: Layer Opacity = 100 x 1 / # of Layers Below + 1. The bottom layer will always be 100%. Simply change the opacity of each layer using the formula. You will notice a big difference! The noise averaging will eliminate most if not all the noise.
[/fusion_builder_column][fusion_builder_column type=”1_1″ background_position=”left top” background_color=”” border_size=”” border_color=”” border_style=”solid” spacing=”yes” background_image=”” background_repeat=”no-repeat” padding=”” margin_top=”0px” margin_bottom=”0px” class=”” id=”” animation_type=”” animation_speed=”0.3″ animation_direction=”left” hide_on_mobile=”no” center_content=”no” min_height=”none”][twentytwenty]
[/twentytwenty]
Before and after noise averaging.
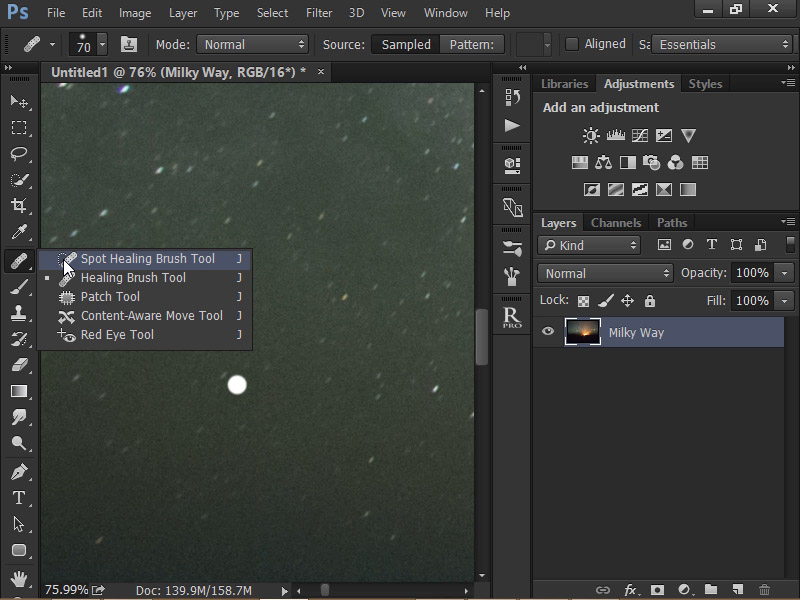
Merge the layers together by selecting them all and pressing Ctrl+E or Command+E (Mac). Use the spot healing brush to get rid of the reference points.
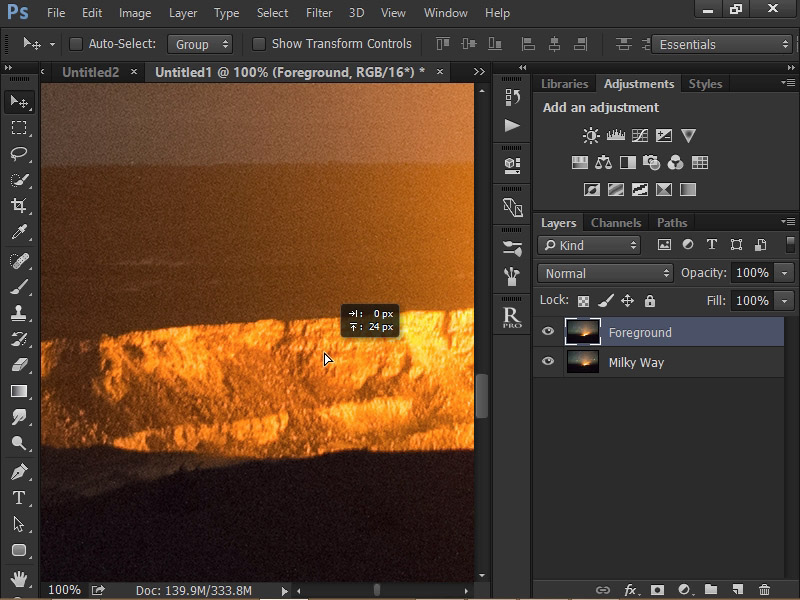
If you also captured a foreground in your image, you will notice that it will be blurry. This is due to the images being aligned using the data from the sky and not the foreground. To fix this, all we need to do is replace the blurry foreground with another image.
Opening the same exposure as a stack in another document, I noise averaged the image so that the foreground is clean. I merged all the layers after that.
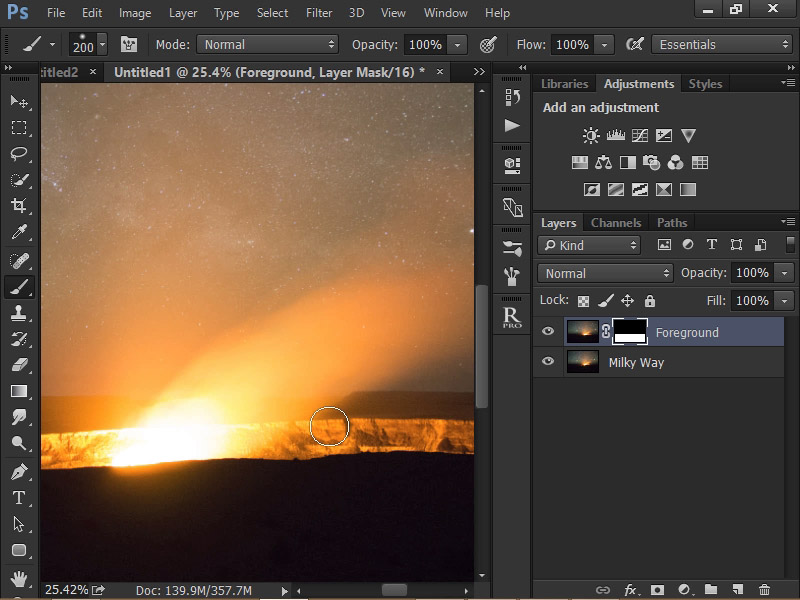
The next thing to do is drag and drop the foreground layer into the Milky Way document. Align the layer by toggling the visibility button on and off and using your arrow keys to nudge the layer around (Make sure the move tool is selected).
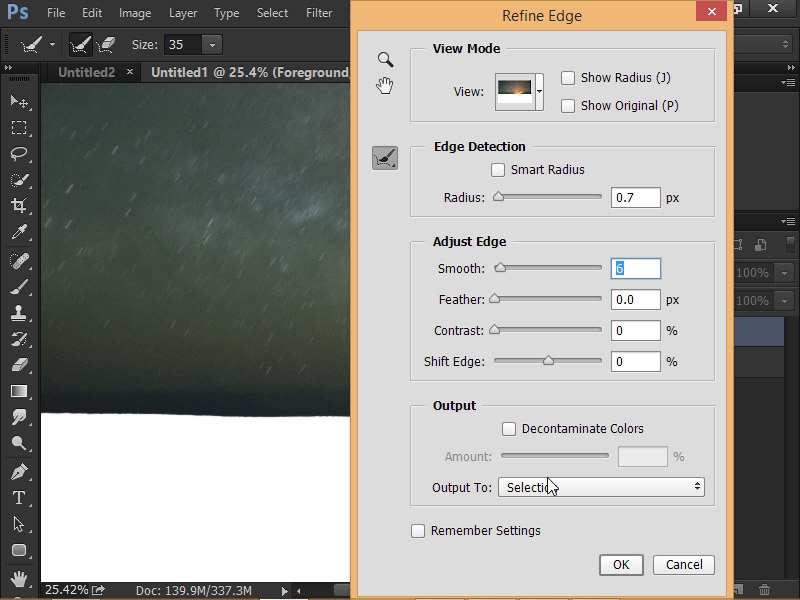
I used the quick selection to select the bright sky against the dark foreground. Depending on your image, you may need a more complex selection.
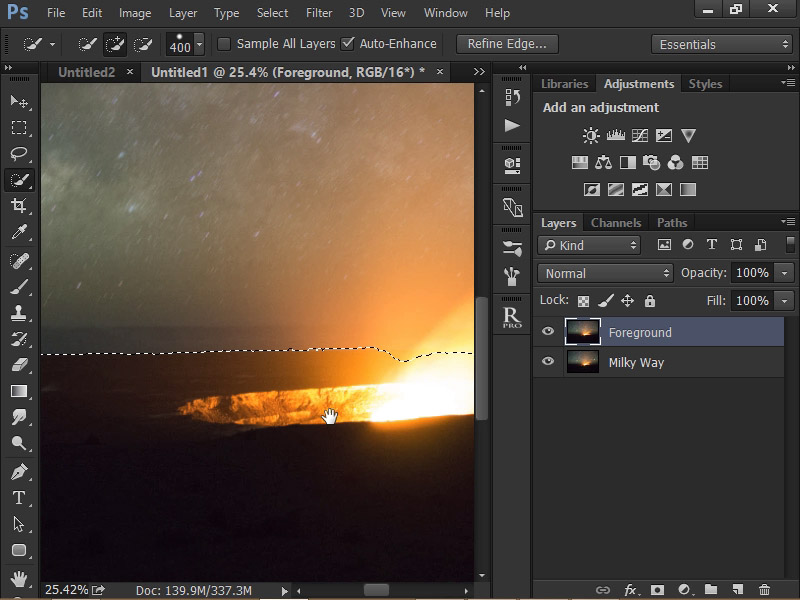
Using the refine edge tool, I smoothed out the selection.
I hit the layer mask button and it applied the selection as a layer mask. I nudged the layer up with my arrow keys to hide the blurry foreground on the bottom layer and brushed in some of the area in the smoke.
It may take a bit of practice to get a hang of this technique, but it is well worth the effort. Watch this video to see this technique in detail and how I processed the image.
[/fusion_builder_column][/fusion_builder_row][/fusion_builder_container]